Machining SVGs Using the Bantam Tools Software
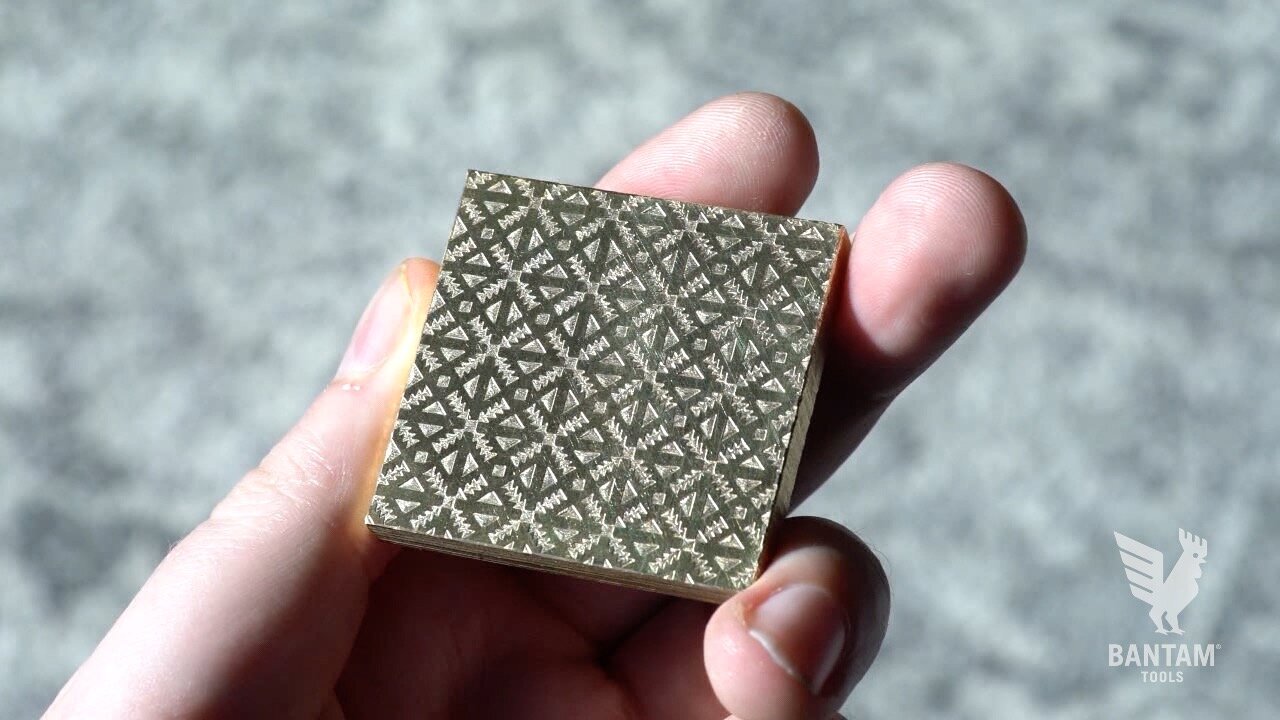
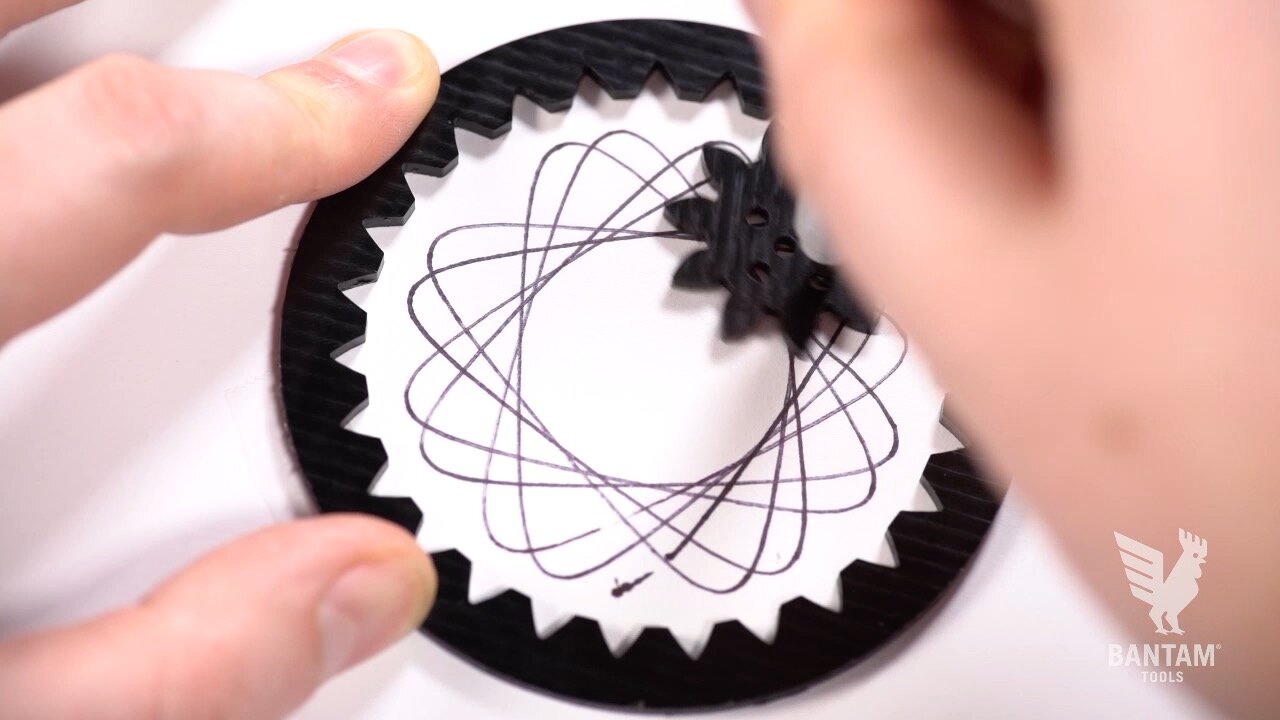
Whether you’re engraving or cutting out simple shapes for 2.5D designs on our desktop CNC machine, using the SVG support in the Bantam Tools Desktop Milling Machine Software is a great way to begin machining a variety of projects (like the ones below) without getting bogged down by the complexity of CAM.
As much as we love Autodesk’s Fusion 360, we know how daunting programming CAM can be—especially for those just getting into CNC. CAM is an acronym for “computer-aided design,” and CAM programs allow you to select tools, materials, and other variables for your milling job. To lower the barrier of entry to the CNC world, we’ve simplified the process of milling 2D shapes and designs—as in no CAM programming required.
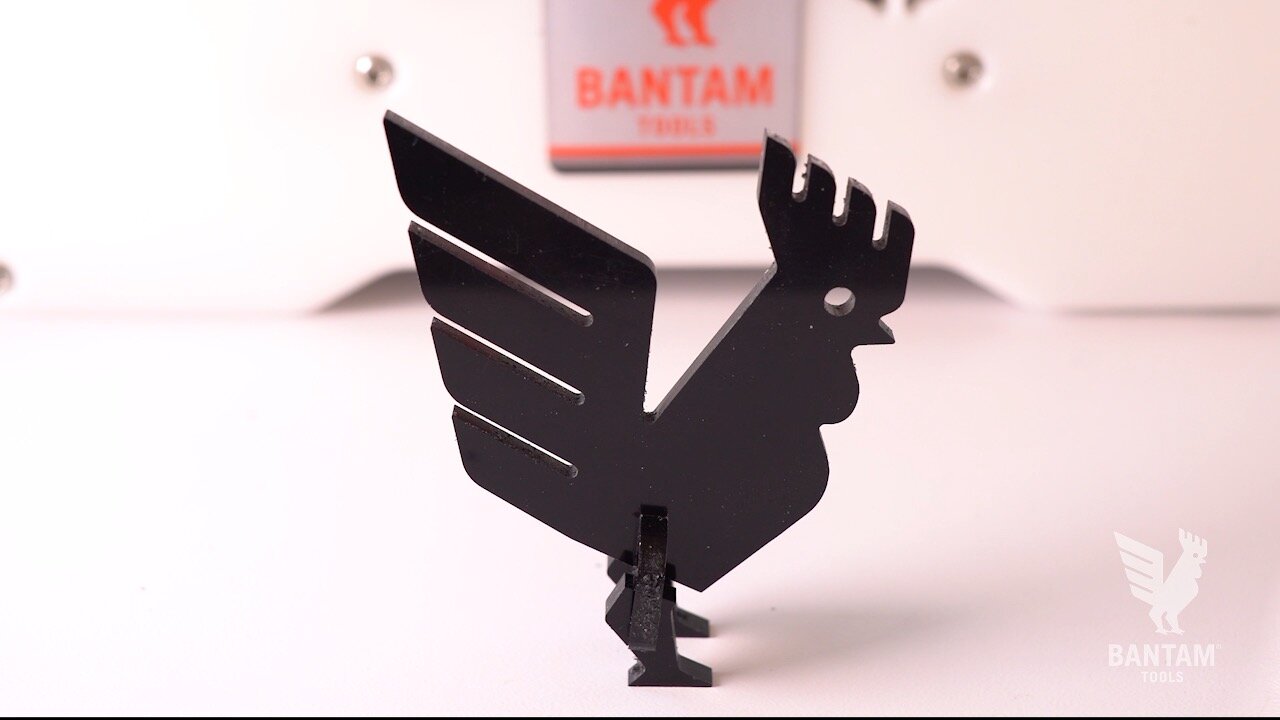
We made each of these projects with 2D shapes and designs in Adobe Illustrator (you can also use Inkscape if you prefer), saved them as SVG files, and then dropped them into our Bantam Tools software. Seriously, it was that simple! In this post, we focus on making a snap together rooster puzzle to cover the basics for working with SVG files in our software. To follow along with this tutorial, download the SVG file.
With simple shapes, the Bantam Tools software reads the outer path or stroke of a design as the cutout toolpath and fills as engravings toolpaths. If you’re creating more complex designs, you may choose to either engrave the entire design or do a combination of both. For instance, if you import the SVG file into our software as-is and select the “1/16” FEM Delrin Adv” tool, the rooster’s eye will be marked unmillable.

If you open the the design file in Illustrator, you can update the circle for the rooster’s eye to be a fill. Using the Select tool, click on the stroke of the rooster’s eye. Then in the Properties tab, under Appearance, change the stroke color to “none” and change the fill color to be any solid color.

See how the rooster’s eye is now black? This means you’ve created the fill.
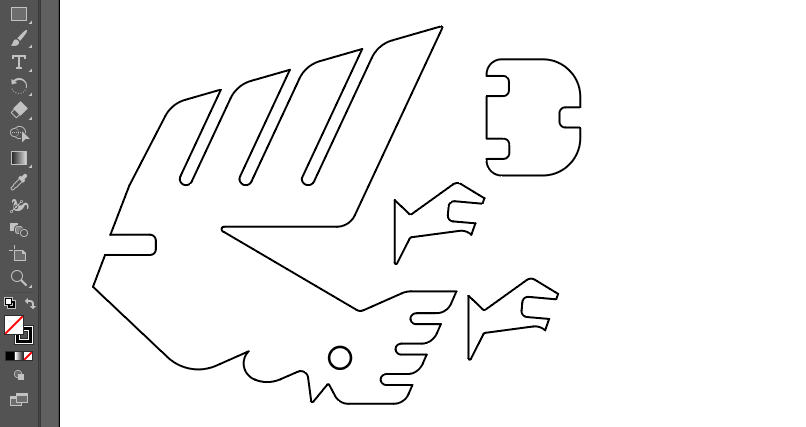
This is what the design will look like before you create a fill.

This what the design will look like after you create a fill.
Once you’ve tweaked the design, save it as an SVG, refresh the file in our software, and then set the engraving depth to match the thickness of your material. As long as you have both Engraving and Cutout selected in the software, you’ll see the eye appear in the preview.

Also, see how the inner boundaries are marked red with an un-millable warning? That’s because the stroke width is too small for the 1/16” flat end mill that’s selected. In this case, it won’t impact the design. However, this may impact designs you create in the future. If you notice in the software preview that something is marked as un-millable and it needs to be milled, adjust the stroke width back in Illustrator or Inkscape, and then save and refresh the file in the Bantam Tools Milling Machine Software. Alternatively, you could also select smaller tooling.
“When working with SVGs, remember:
Cutouts = Strokes
Engravings = Fills”
Once the SVG is set up in the Bantam Tools software, the only thing left to do is hit Start Milling. In a few minutes, you’ll have your own 2.5D Bantam Tools rooster!

For this project, programming the CAM in Fusion 360 could have required 20 or more boxes to be checked. But thanks to our SVG-supported software, this workflow has been reduced to a few simple steps. Just think about all the things (or Bantam Tools roosters) you can mill! For more details on working with SVG files, check out our full SVG support guide. We also have a support guide dedicated to CAD and CAM.
Is there something you’d like us to cover in our next how-to video? Email resources@bantamtools.com or reach out to us on our social channels. Be sure to follow us on Instagram, Facebook, and Twitter for the latest how-tos, CNC projects, and updates!