
Ed Kramer's Bantam Tools Spinners Are Stunning

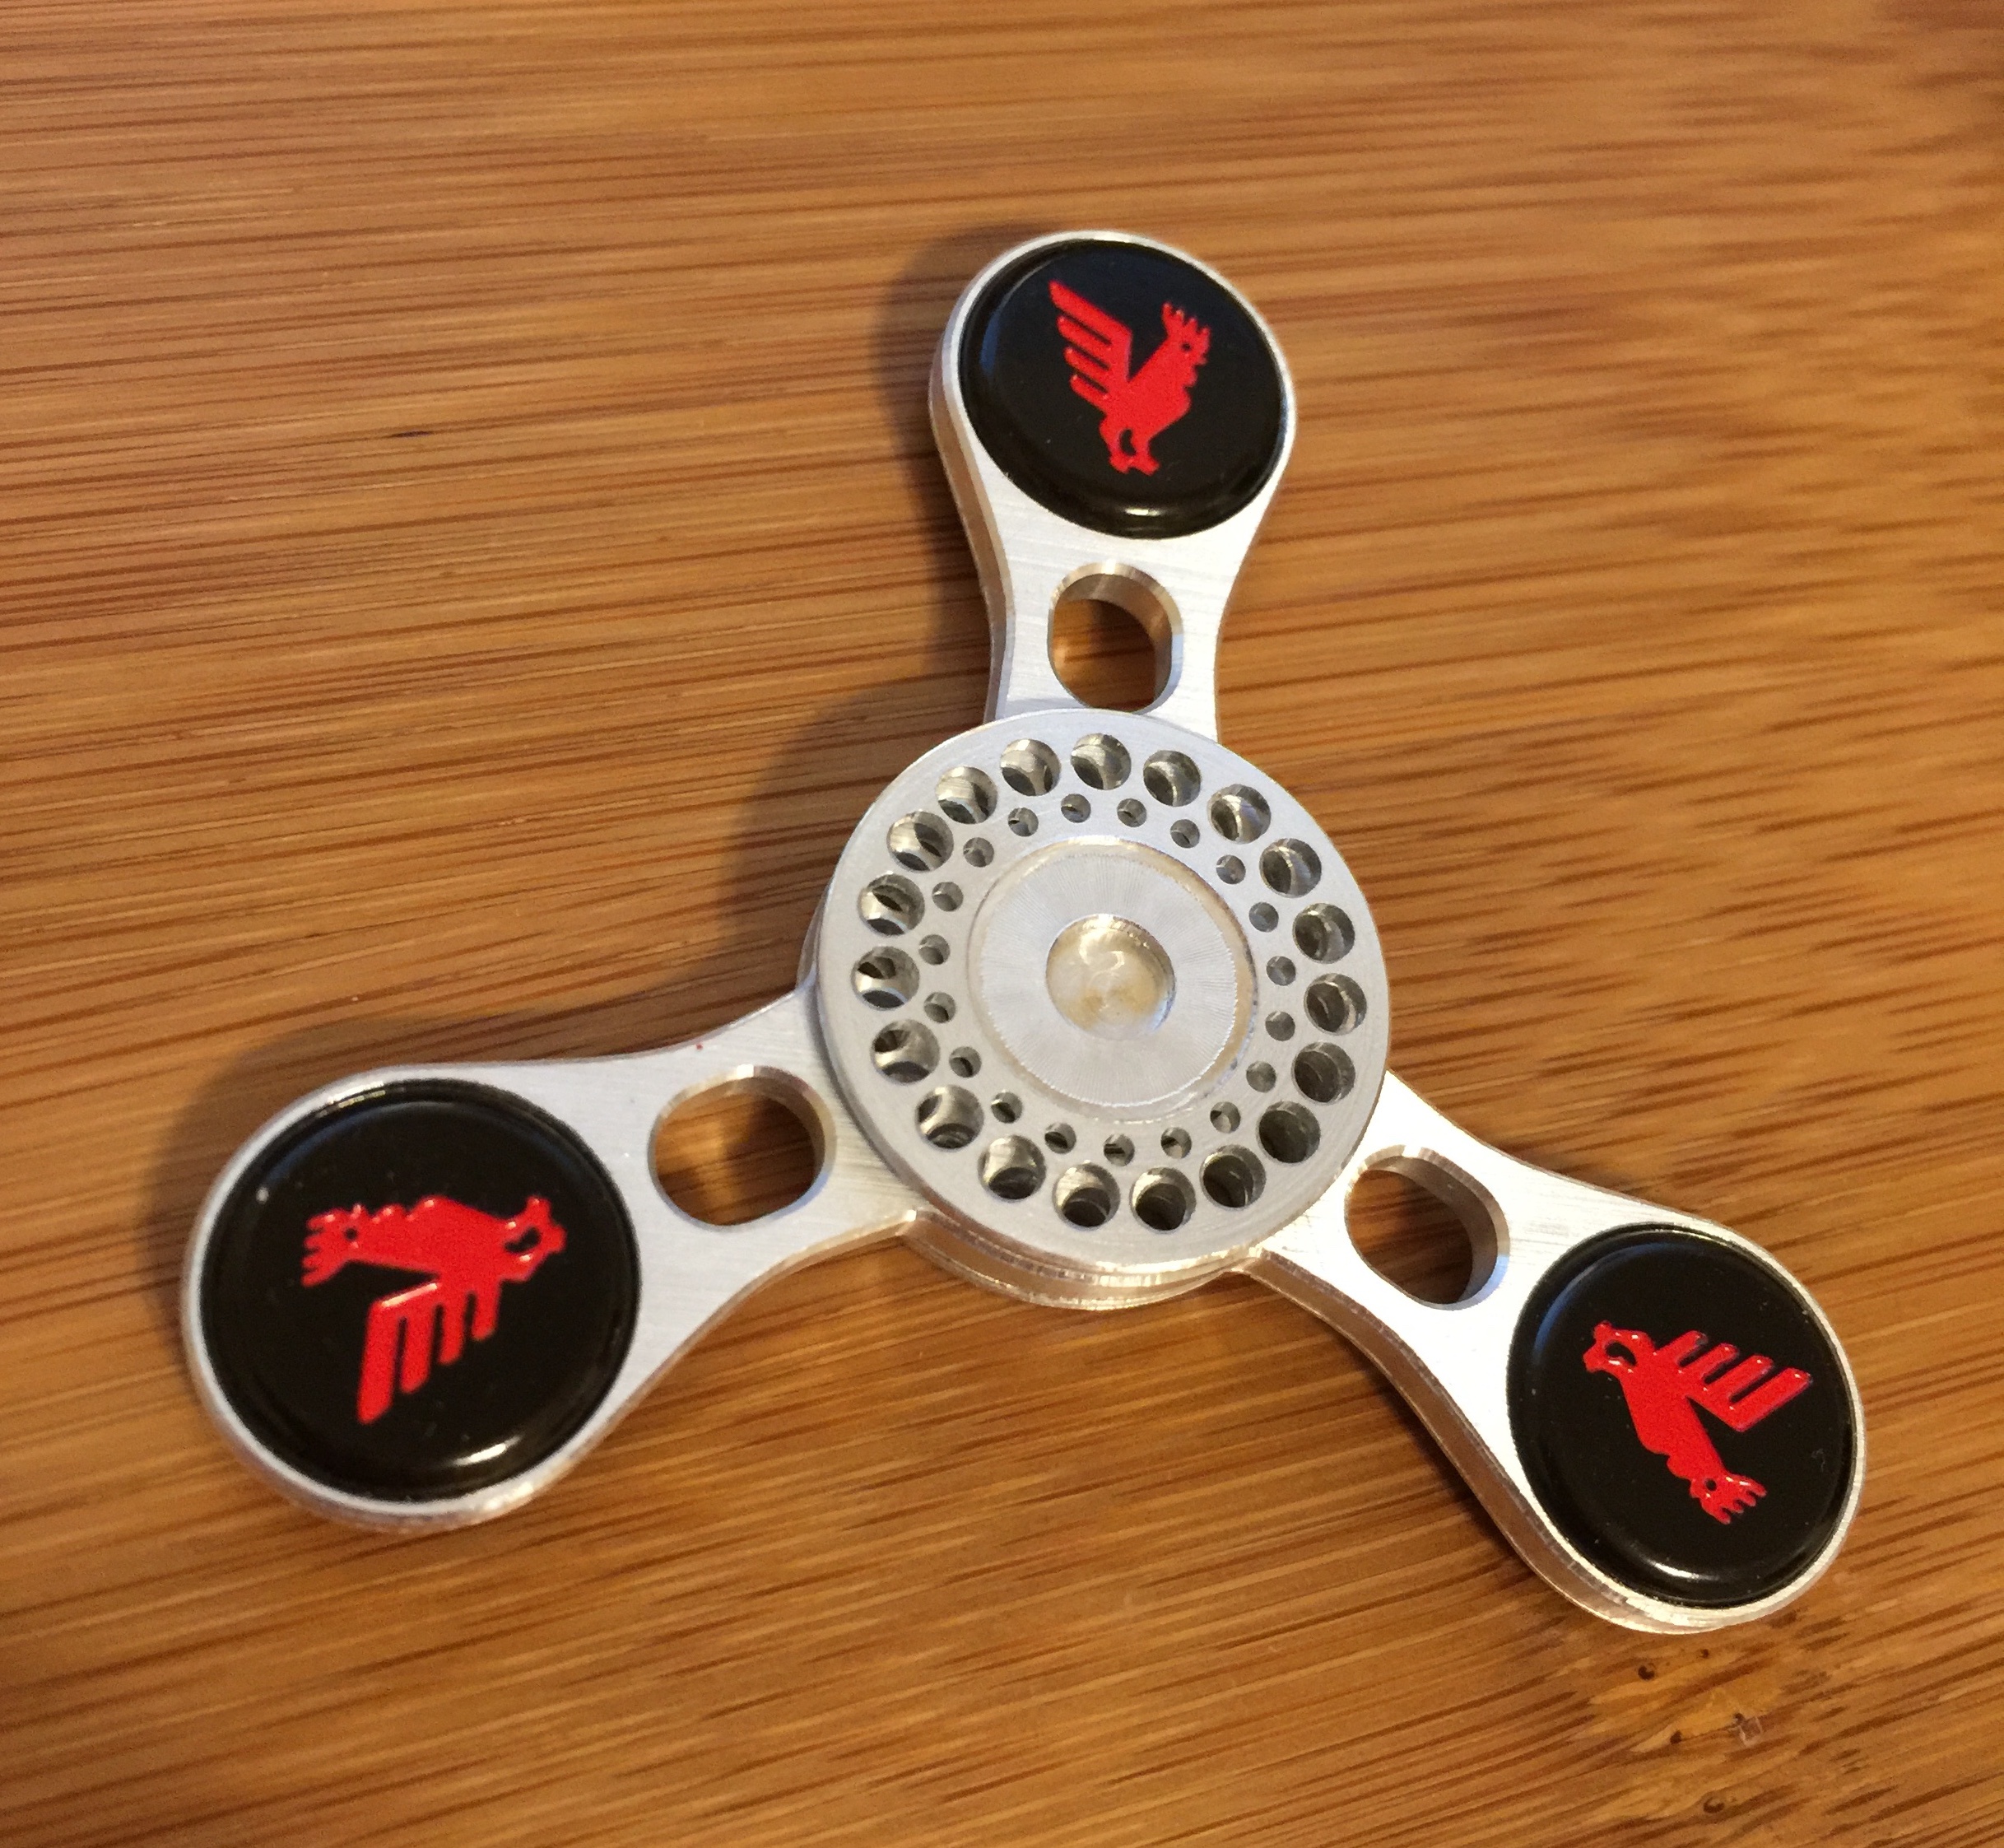
Over the past year, fidget spinners, the multi-lobed toy with a ball bearing in the middle, have become wildly popular among young and old. Perhaps we all spend so much time staring at screens that having a tangible object to channel restlessness is just what the doctor ordered. At any rate, we've seen them in every color, material, and quality, but by and large, they're usually mass-produced, plastic, and not exactly what comes to mind when you think "artisanal." That is, until we laid eyes on Eddie Kramer's spinners, lovingly handcrafted on an earlier version of the Bantam Tools Desktop PCB Milling Machine, no less.
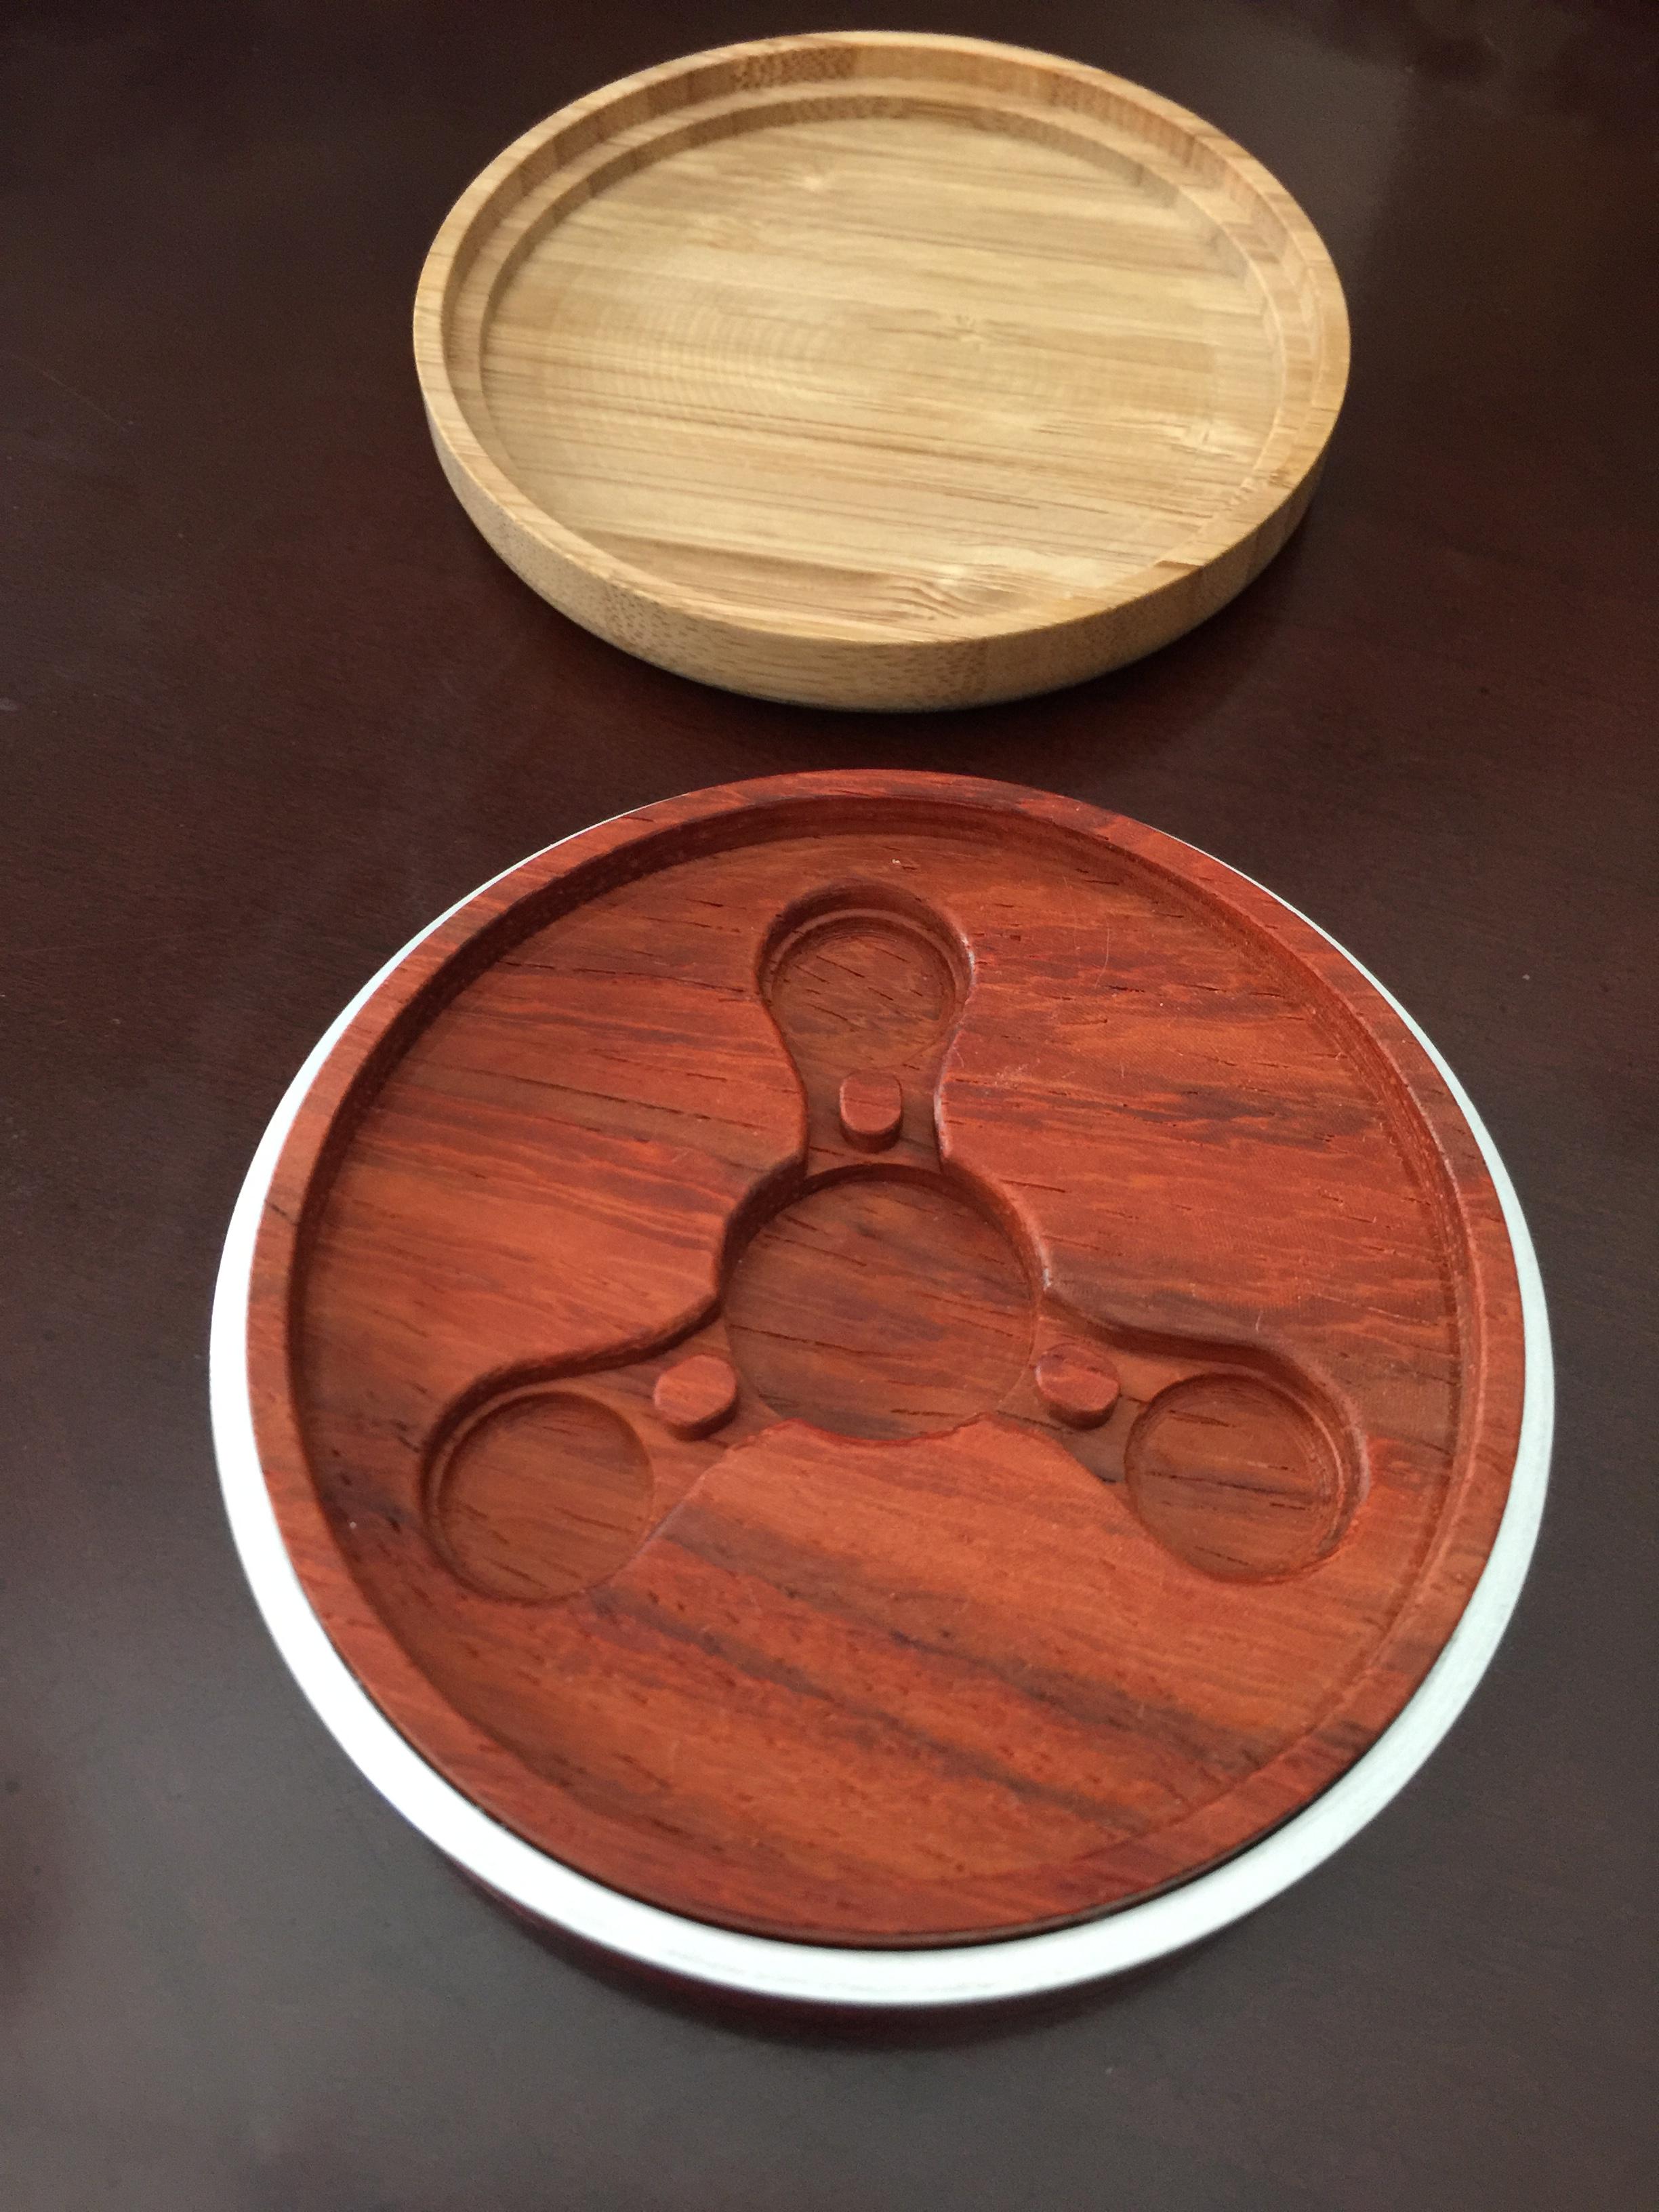
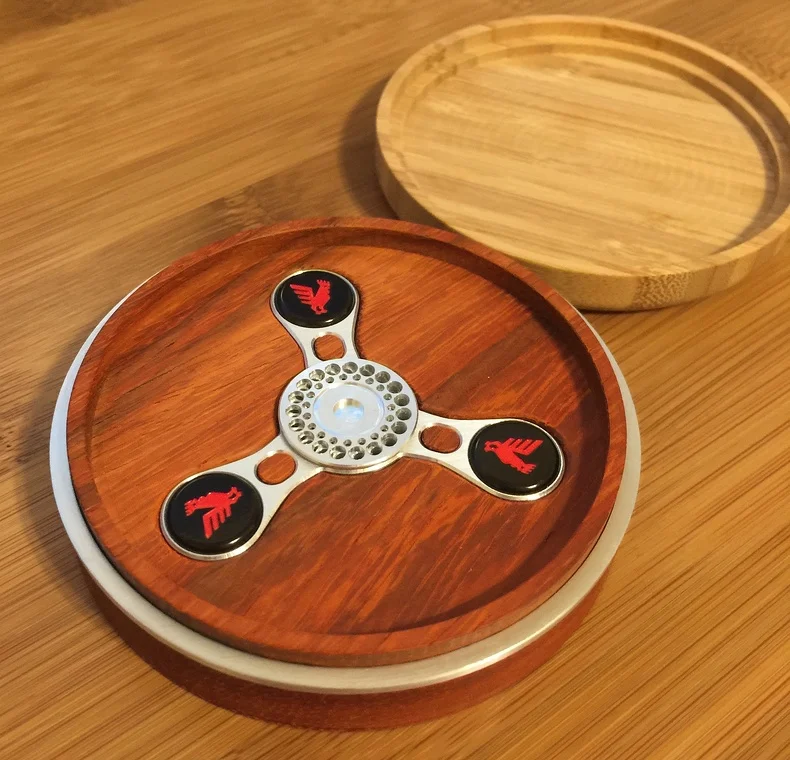
No matter how pretty the pictures shown here are, they really don't do justice to holding the real thing, which is a smooth, perfectly weighted thing of beauty. Kramer even mills the wooden boxes that hold his spinners. If you could only hear the satisfying sound of the spinner mating perfectly with the box. Swoon. Kramer's day job has him deep in the digital realm, and fabricating on Bantam Tools equipment offers him respite in the tangible. We chatted with him to learn more.

Ed Kramer with the Bantam Tools Desktop PCB Milling Machine
How did you get started using the Bantam Tools Desktop PCB Milling Machine?
Professionally, I come from a software development/software architecture background and spend my days designing and building the large, complex components that make up modern enterprise applications. But at the end of the day, there's nothing tangible or tactile that I can hold in my hand — nothing I can touch and say "I made this." So I went looking for something to scratch that itch.
Like many other makers, I was initially drawn into the world of CNC machines and desktop manufacturing via the 3D printing maker scene. I purchased a 3D printer in 2013, purely as a hobby pursuit. I was immediately hooked on the experience of moving from a design on the screen to holding a finished part in my hand, with all steps in between executed right here in my workshop.

But by 2015, I was growing frustrated with the limited range of materials that could be handled by the affordable FDM 3D printing technology of the day. I was also playing around with embedded systems (Arduino and Raspberry Pi) and designing my own PCBs. Around that time, I ran across a blog story about Other Machines Co.'s recently completed Kickstarter campaign. I fell in love with the Othermill at first sight.
I purchased my first CNC milling machine, the Othermill V2, directly from the their website in the summer of 2015. The machine was upgraded to the Othermill Pro (now the Bantam Tools Desktop PCB Milling Machine) about one year later.
How long have you been using CNC mills?
Since July 2015, with the purchase of my Bantam Tools milling machine. I added a second desktop mill (Carbide3D Nomad 883 Pro) to my workshop later that year. The two machines complement each other nicely. The Bantam Tools milling machine's higher spindle RPM and rapid speeds facilitate quick production of PCBs and small parts in aluminum and brass, with amazing surface finishes, while the Nomad's expanded work envelope accommodates some of the larger parts I make.
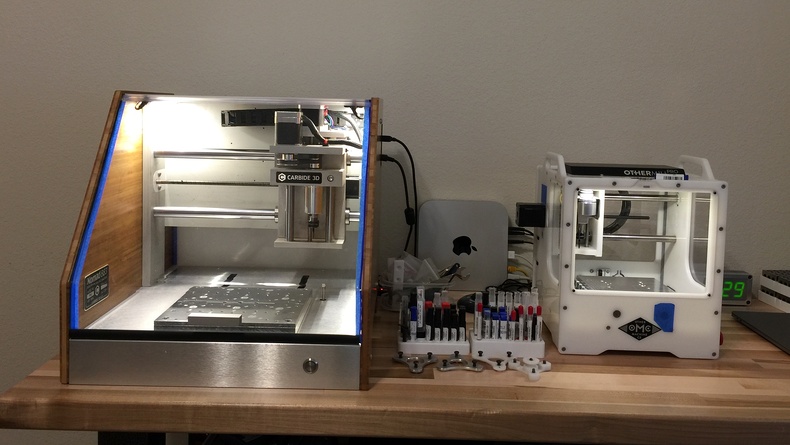
Ed’s mini desktop factory includes an Othermill (aka the Bantam Tools Desktop PCB Milling Machine).
How was the learning curve for using the machine? What was the biggest challenge?
I found the software that shipped with my original Othermill very intuitive. It made it easy to start milling prototype PCBs and some simple 2D parts from SVG files shortly after opening the box. But I struggled with machining more complex 3D parts. I had a head start on the steep CAD/3D modeling learning curve from my 3D-printing background, but CAM was brand new to me.
I started using Autodesk Fusion 360 when I received my mill, and I quickly found out that toolpaths for CNC milling machines are not as "one-click" as slicing is in the 3D-printing world. The designer needs to understand which machining strategies and cutting tools are appropriate for milling a complex part from raw stock. I worked through tutorials, user forums, and how-to content published by Autodesk and Bantam, and I watched a bunch of YouTube videos generously published by other makers. This soon got me through the rough spots. That, and a few broken end mills.

What inspired you to make high-end spinners?
I was initially drawn in by their form. I was intrigued by the flowing, organic curves I saw on some of the beautiful high-end spinners coming out of the every day carry (EDC)/knife-making online communities. I wanted to try to design one myself simply as a modeling exercise.
I iterated through a few designs in Fusion 360 and added the renders to my screensaver slideshow at work. Soon, work mates were asking if I could make a few for them. So it was off to eBay and McMaster-Carr websites for aluminum and brass stock and VXB.com for high-tech ceramic bearings. I created my Instagram page about the same time and shared my progress along the way. That's where Danielle Applestone ran across my work.
What was your R&D process?
Once I have a concept in mind, I leverage the amazing tools in Fusion 360 to iterate through the design, model all the components, create the assembly, and check clearances for unintended interference between parts before committing anything to metal.
Once the modeling is complete and I have a good idea of how the assembly will fit together, I move on to prototyping. I'll load some sacrificial material in the Othermill and test out CAM strategies in isolation for some of the trickier machining operations (such as thread-milling). I also machine and test-fit any precision interfaces between the parts — for example, the bore in the spinner body that seats the bearing. I also mill some test parts that are used to validate any special finishing processes I want to include in the fabrication phase (such as engraving and powder coating).
Then I get to my favorite part of the process. I make a complete spinner and do some real-world testing by carrying it around everywhere I go and playing with it for days, passing it around to friends and family — all very rigorous and scientific.
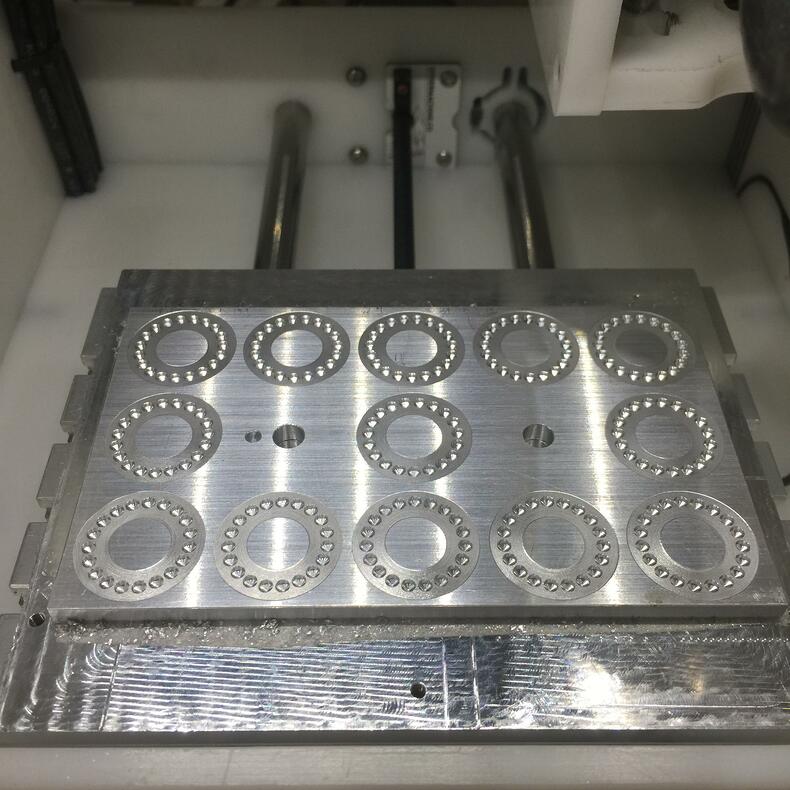
Once that's all done and I've built a few parts using a single piece workflow, I optimize to support a multi-piece batch workflow. This may include machining custom work-holding fixtures, more aggressive toolpaths, or completely different CAM strategies. For example, I recently switched from a pocketing operation using a flat end mill to a drill op using a carbide drill bit for all those tiny holes in the spinner buttons. This trimmed several hours off the machining time for these parts.
What other things have you made with the Bantam Tools Desktop PCB Milling Machine?
I machine cases from padauk hardwood, bamboo, and aluminum to complement the spinners. Another project I completed recently took full advantage of the Bantam Tools milling machine's capabilities. After some late-night binge shopping at Adafruit.com, I designed and built a esp8266-based IoT digital alarm clock with environment sensing (ambient temperature and relative humidity) for my personal use. This involved milling a custom PCB, aluminum faceplate, and Delrin enclosure along with a few brackets. All made on the Bantam Tools milling machine.
Any projects on the horizon?
I'm working on designs for other fun, everyday carry items to make along with the spinners. I've been looking at beautiful CNC-machined yo-yos and spinning tops for inspiration. I'm also in the thinking-about-it phase on a more functional product line. I'd like to expand the variety of work holding solutions available to users of small desktop machines. Products include modular tooling plates, a miniature pallet fixture system, and a low-profile vacuum work-holding solution for thin/flat materials.
And dreaming at night about some sort of future collaboration with other makers on something big. Maybe something like an Arduino-based robotics/motion-control system and tool changer to automatically load/unload parts in the Othermill. It would be so cool to have lights-out, unattended batch machining capability at desktop scale, just like the big industrial milling machines do it. That would be sweet.
What has the Bantam Tools Desktop PCB Milling Machine enabled you to do that you couldn’t previously?
The Bantam Tools machine has enabled a smooth, iterative, rapid prototyping workflow for me, using a wide range of materials. I can go from idea to model to physical part many times in the same day, or even the same hour. I don't have to wait days or weeks for parts to come back from a job shop or PCB fab just to find out the design needs a correction.

Tell us about your powder coating technique.
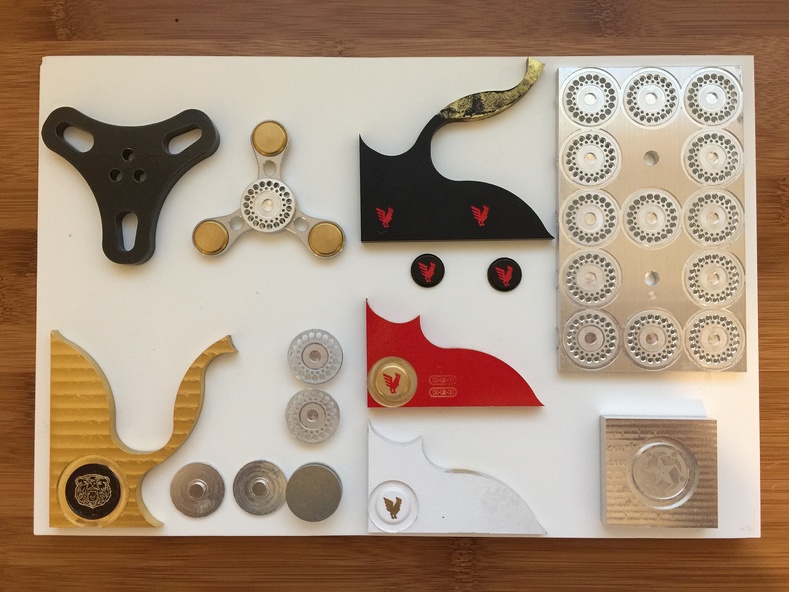
For the two-color black/red Bantam Tools rooster on Danielle's custom spinner, I tried something new to me. I machined the front side of the weights in a plate of brass stock. Then I remove the partially machined plate from the mill and apply the black powder coating using the usual process, with the aid of an electrostatic powder-coating gun.
Next is a cycle in the curing oven to bake the finish. Once the brass plate has cooled down, it goes back in the mill to complete the machining of the weights, including the engraving of the rooster. The parts are cleaned with denatured alcohol, and the red powder is applied into the engraving by hand, using a cotton swap and a plastic card as a squeegee to remove any excess powder. Parts go back in the oven for a final curing cycle, and they're done.
Are you a hobbyist or do you hope to create a business around your milled creations?
Both. I'm still hobby-focused when it comes to all things CNC, but I recently opened my online store to reach a wider audience interested in low-volume, high-quality products made using desktop CNC machining.
Thanks, Eddie! We're looking forward to watching your progression and seeing what other beautiful objects you create.
What have you made with your Bantam Tools milling machine? We'd love to see your creations. Reach out to us via support@bantamtools.com or add #bantamtools to your social posts.