Build Your Own Nerd Watch with Our Desktop PCB Milling Machine
If you haven’t taken a minute (well, actually 1:36) to watch our newest product video, check it out now! It beautifully illustrates the possibilities of what you can make on the Bantam Tools Desktop PCB Milling Machine (formerly known as the Othermill) by showing off a multi-material case created for Bantam Tools’ (formerly known as Other Machine Co) popular binary timepiece, the Nerd Watch.
The enclosure was designed and built on the Bantam Tools Desktop PCB Milling Machine by artist extraordinaire and modern-day Renaissance man, Jeff Lieberman. We invited Jeff to talk about his design and give insight into how he arrived at the gorgeous wood and metal case seen in the video. We hope you’ll be equally inspired to come up with your own Nerd Watch housing project. In fact, we’ve made it easy to get started by bundling the guts in our brand-new Nerd Watch Kit, now available in our store! The Nerd Watch Kit comes with all the parts you need to make your own LED-flashing wearable binary watch. Just add Bantam Tools Desktop PCB Milling Machine.
Here’s what Jeff had to say:
One of my favorite things about the Desktop PCB Milling Machine is its ability to develop form as well as function. It can switch quite seamlessly between cutting a beautiful wooden object and cutting the circuit board that will fit inside that object to make it do something wonderful. More than any single-material tool, the Desktop PCB Milling Machine can take complex projects, that would otherwise require many elements, from start to finish in a shop — in this case, while sitting at my desk!
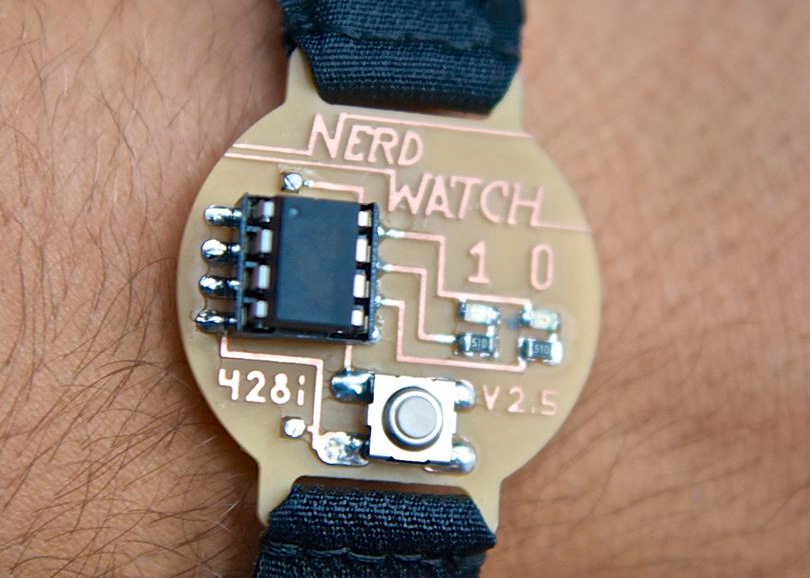
A few months ago, the Bantam Tools team contacted me (a former artist-in-residence at Bantam Tools, working on frame manufacture) to create a beautiful housing for a project that a former intern had designed: the Nerd Watch, a watch that blinks the time in binary code with two lights. For example, blinking right-left-right-right would correspond to 0100 = 4 o’clock. [Here’s a great description of how to read binary numbers.] I jumped at the opportunity, mostly because I knew the tool well but had never had a chance to dive into making a complex project with it.
Given the nerdiness of this watch, I was inspired to make the housing as nerd-oriented as possible, to somehow guide the design context. It’s already enough to have a watch that requires you to learn binary code in order to interpret — why not take it all the way? Design decisions followed:
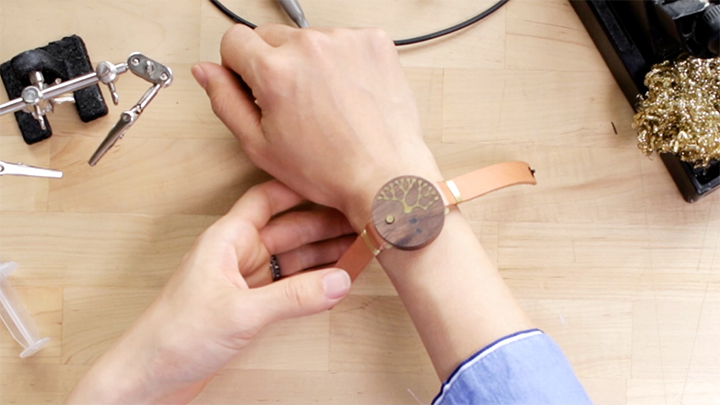
I wanted the face of the watch to be a decoder ring; if you forgot how to translate binary, the face would remind you. This ended up as a brass inlay of a binary tree, where, from the center, you follow the branches up(1) or down(0) based on each blink to get the time. For example, if it blinked “0,0,1,1” you’d follow down, down, up, up, and would end up at the fourth blob — and of course the Nerd Watch starts counting at 0, so this means 3 o’clock.
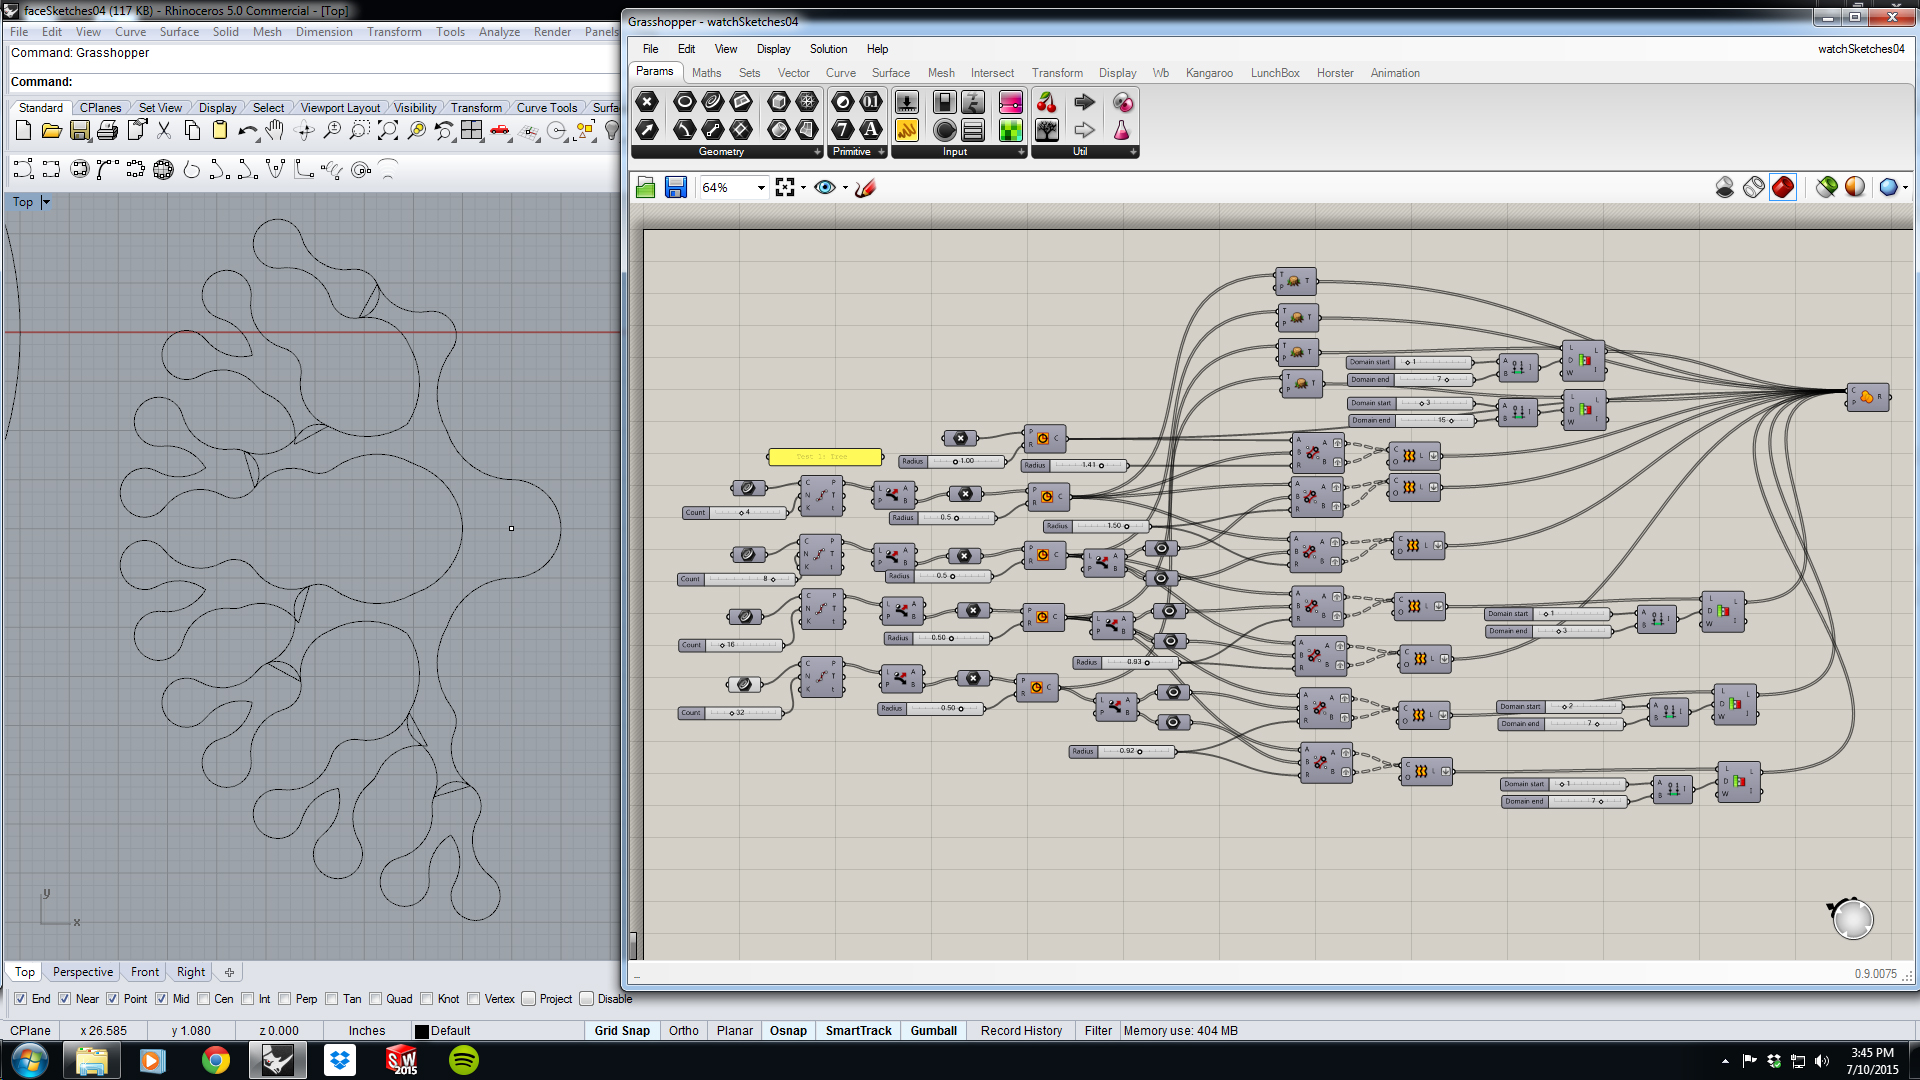
This tree was developed initially in Rhino and Grasshopper, allowing me to parametrically design and fiddle with all the elements of the binary tree before bringing it into SolidWorks for final sizing and integration. The figures detail the Grasshopper script that generates the binary tree with all the connections between blobs. Everything designed in Solidworks was post-processed with HSMXpress, a free CAM plugin for SolidWorks.

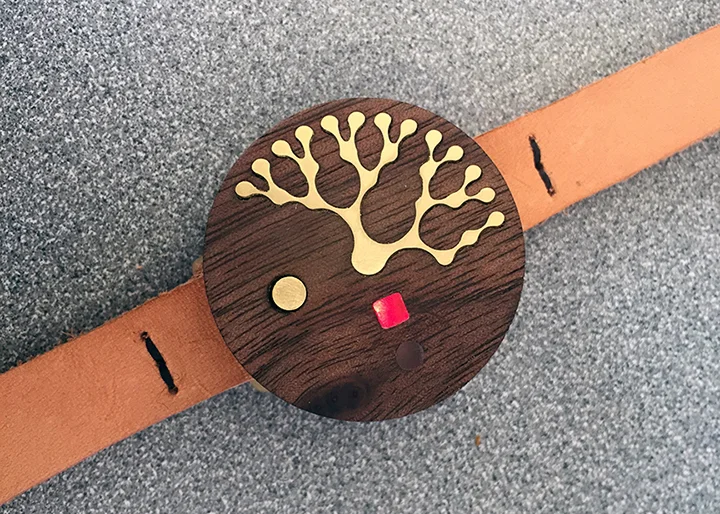
The buttons are designed as a square and circle, representing a graphic 1 and 0, and they use light pipes to get the light off the board diffused. This is a common technique for commercial products, to make the light from the circuit board appear it is on another surface, and I’d never had a chance to make custom light pipes before. I even had to sand the top surface after milling to scuff it up enough to get diffused light because the milling finish was almost too polished!
I wanted to push several limits of the Desktop PCB Milling Machine. It claims some amazing tolerances and I wanted to test them. There are no fasteners on the Nerd Watch housing — everything is done with a press fit, requiring tight tolerances around 0.001" or so. The binary tree inlay is press fit into the face, without adhesive; the plastic light pipes are press fit into the face from the other side. And the face itself is press fit onto the circuit board to hold it in place. Even the trigger button was a press fit — I didn’t have thick enough brass, so the button is made out of plastic and then I cut a brass cap to press fit into the top. The walls of the cap are 0.005" thick and pressed onto the plastic the first time I tried! Pretty fun, those press fits — as you can see, they exceeded my expectations.
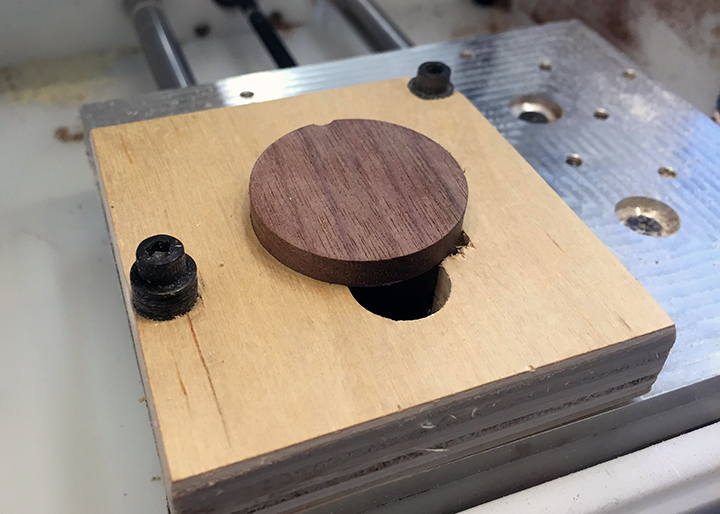
The other thing I wanted to test on the Desktop PCB Milling Machine was double-sided machining and fixturing. As you can see, the brass was cut using the built-in screws on the mill bed, and the watch face required machining on both sides. I first cut the fixture (a simple circle cutout, as shown) to press the outlined watch face into, so the inlay could be cut on the top first and space would be cut from the bottom for circuit elements and for the press fit in a way that exactly lined up on the piece.
A word about materials: I played with several types of wood for the main face but loved the darkness of walnut, especially after oiling. I initially made the mistake of trying to cut some copper, a fussy material that tends to gum up. It did. After some advice from a friend, I switched to brass. The color matched the walnut much better, and it was an easier cut. Cutting metals is a slower process that requires very small passes (like 0.002" each pass).
No matter what tool you end up using, there is the first-time startup learning process of just getting the thing from your head into the real world, through an unknown toolchain. At the end of the week, I was able to design a part in CAD, process it in HSMXpress, get it over to the Desktop PCB Milling Machine jig it up, and have the part cut, in a total of 20 minutes. That is incredible.
Thanks, Jeff! You were an amazing partner-in-crime for this project and we can’t wait to see what else you’ll make on the Bantam Tools Desktop PCB Milling Machine.
And because we love and celebrate collaboration, we’d also like to give a shout out to the other key players in the making of this video. Thanks to Jorge, Brian, and all the hard-working staff at The Werehaus; your technical prowess and artistic eye made the creation of this video super smooth. Big thanks to Joseph Wharton, who made the original music for this video, carefully constructing a sound that not only matches the pace of the video but embodies the vibe of Bantam Tools.
