Milling an Overdrive Guitar Effects Pedal with Eddie Serratos
Imagine what rock classics like "Voodoo Chile" by Jimi Hendrix or "Fool in the Rain" by Led Zepplin would sound like if not for the unique and infectious sounds added to their music by guitar effects pedals. Originating in the 1940s, effects pedals have dramatically increased the creative output of many a famous musician, allowing for experimentation and pushing the boundaries of what sounds their instruments (most often guitars) could make.

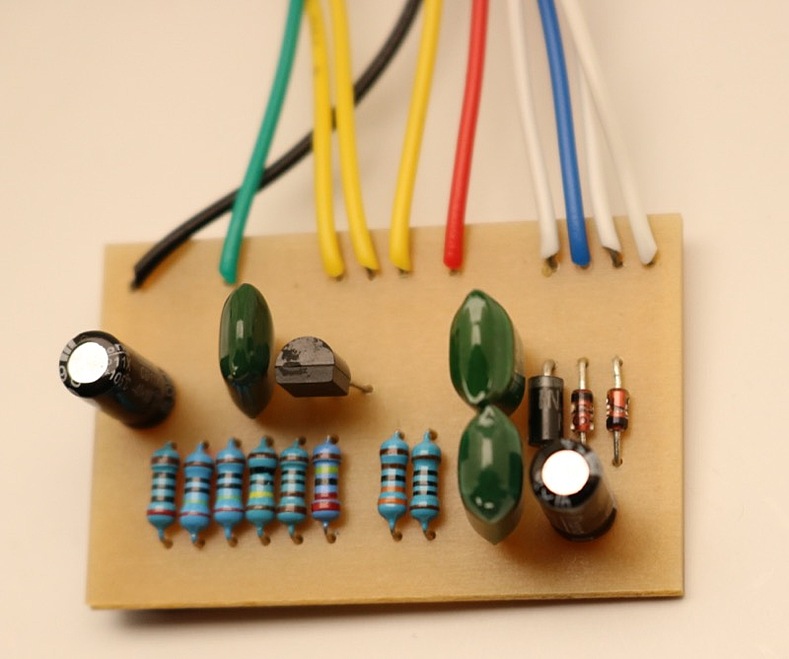
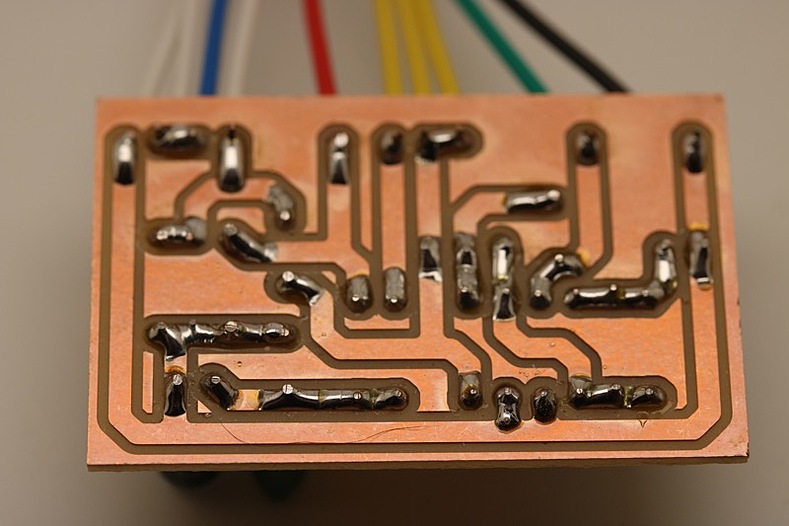
In the spirit of that playful innovation, maker Eddie Serratos devised the Overdrive Guitar Effects Pedal project, featuring a PCB milled on the Bantam Tools Desktop PCB Milling Machine. Eddie shares, "I wanted to create a project that people who are new to making their own circuit boards could very quickly and relatively easily put together — something that didn’t have too many parts." Eddie documented his full step-by-step and has shared it on our site so you can build your own.

Interestingly, the transistor was originally what allowed for the previously studio-only effects boxes to be made small and portable, called stomp boxes, and the first track that popularized the transistorized guitar effect was no less than the Rolling Stones 1965 smash hit "(I Can't Get No) Satisfaction." Eddie's pedal employs the ubiquitous 2N2222 transistor.
We spoke with Eddie to learn more.
Tell us about your R&D process.
Typically, l breadboard a circuit and change components until I find something that sounds good to my ears. One of the best things about making guitar pedals is that you can personalize the sound to your liking.
What was the most challenging part of the design/build?
Putting the tutorial together. I designed the circuit, put the entire pedal together, and photographed the process before typing up the tutorial. Making sure to be extremely detailed when writing something can be a challenge.
Did you learn anything new from the build?
When documenting a tutorial, it’s always a good idea to make sure the software you’re using is up-to-date. I had to update the tutorial because there were some minor changes made to EAGLE. Not a big deal, but it would've been prevented if I had only updated my software!

How long have you been using the Bantam Tools milling machine?
A little less than a year and a half.
What’s your favorite thing about it?
Thinking of new ways to use the machine. I’m still doing a lot of 2D work with pedal artwork but I dabble here and there with Fusion 360. Still trying to learn.
What other types of projects have you used the Bantam Tools milling machine for?
So far I’ve done a lot of milling of guitar pedal enclosure artwork. Also, I’ve been working on designing a Raspberry Pi enclosure.

Do you have other projects in the works? What’s next?
I’ve been trying to figure out a way to make an electric guitar body. Everything is still in the design phase. Might not be a practical build, but trying to figure it out is a lot of fun.
Any pointers or tips for folks going through the build?
Take your time and double-check everything as you go along. Each time you make a solder connection, use your multimeter to make sure your solder joints are not touching parts of the board they shouldn’t be touching. This is exactly what you would do you if you were to troubleshoot the circuit after everything has been soldered, except you're doing it as you go along.
Check out Eddie's technique and build your own following the full step-by-step tutorial. If you have any questions, we're here to help at support@bantamtools.com. And if you do build your own effects box, be sure to tag us @bantamtools and #bantamtools on social platforms. We'd love to see it!