Make Your Desktop CNC Machine Sing

While sheltering in place, we’ve been converting MIDI files of well-known songs into G-code, dropping the G-code into our Bantam Tools Desktop Milling Machine Software, and having solo CNC concerts! If you want to have a concert of your own, here’s how to make your Desktop PCB Milling Machine sing.
Example MIDI files
Step 1: Pick your song and download your MIDI file.
Unlike MP3 files that are recordings of instruments, MIDI (musical instrument digital interface) files allow you to connect devices to generate or control sound. Think of a MIDI file as sheet music a computer can read. Since our Desktop PCB Milling Machine has three stepper motors, MIDI files that use fewer instruments, acoustic versions, or piano versions of songs work the best. While you can use the original version of a song, it may take more tweaks to get it to sound right.
We started our search for MIDI files on the 8notes site, but you can certainly use others. A quick internet search will lead you to numerous collections. Once you’ve found the song you want to use, download the MIDI file.
Step 2: Convert the MIDI file to G-code.
Next, head over to this online MIDI-to-G-code converter. Choose your MIDI file and click “Analyze file”. You’ll be taken to a new screen that looks like this.

In the “Steps per millimeter” column, enter 41.01 for each axis. Then in the “Work area in millimeter” column, enter the following values:
Axis 1: 0 – 145
Axis 2: 0 – 119
Axis 3: -60 – 0
Notice in the image above that there are multiple channels selected. These channels represent the number of instruments in the song. If you convert the MIDI file with all of these channels selected, the song won’t sound right when you play it on the mill. Experiment with deselecting channels if you don’t like how the results sound. Some songs sound better with breaks disabled. You can choose to disable them with the “Disable breaks” checkbox before selecting Generate G-code.
Pay attention to any warnings the site generates. It’ll tell you if the code you’re trying to generate will cause a frame collision. This tends to happen when notes are held for a long time. As much as we tried, we weren’t able to get Strauss' “Sunrise” theme from 2001: A Space Odyssey to work.
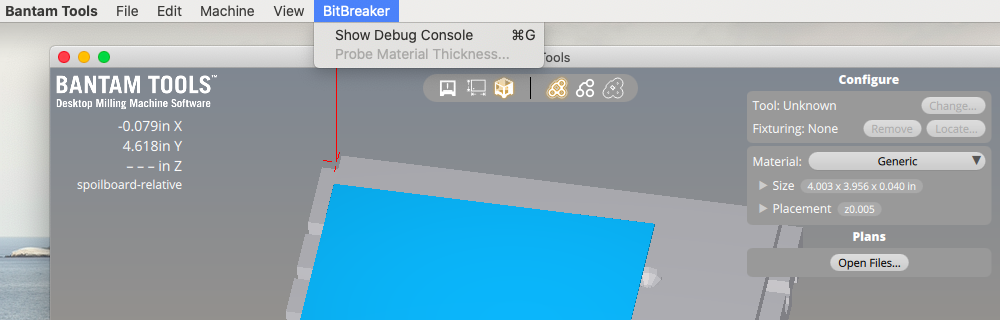
Step 3: Load the G-code into the BitBreaker.
Before you even turn on your Desktop PCB Milling Machine, remove everything inside of it, including the collet, collet nut, end mills, fixturing, and any stock. The MIDI-to-G-code generator creates code that uses the full extent of the axes. When everything is removed, turn on the mill, open the Bantam Tools software, and home the mill.In the Bantam Tools software click BitBreaker > Show Debug Console. With the mill still in the home position, enter “g54” in the Debug Console and hit Send Command. Then copy the G-code you generated and paste it into the window.
Step 4: Make some noise!
Hit Send Command and rock out! If you’re testing or tweaking your G-code, keep your hand near the E-stop button in case something sounds wrong. If you’ve followed the previous steps closely, you’ll most likely be fine. Be sure to home the mill and resend the “g54” command every time you play a new song. If you’re still not happy with the results, you can modify the composition of the MIDI file. There are free tools available for download, as well as web-based MIDI editors.