Machine a Kinetic Magnet Clock (and More) with ITP’s Ben Light
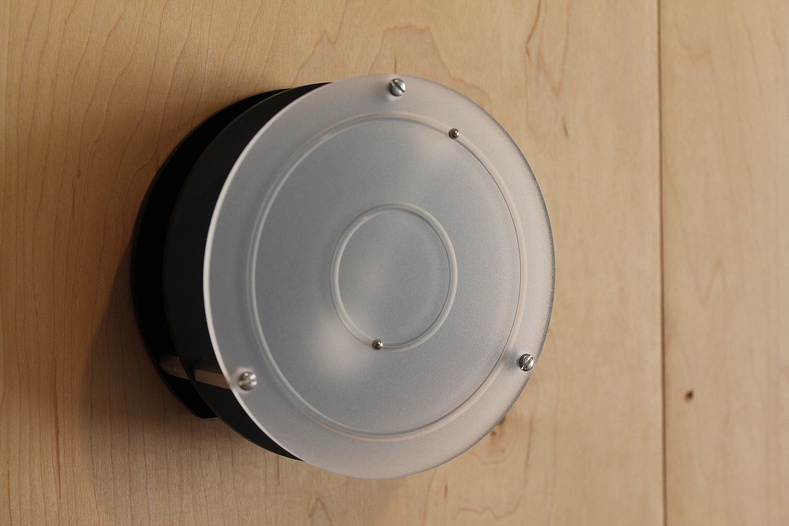
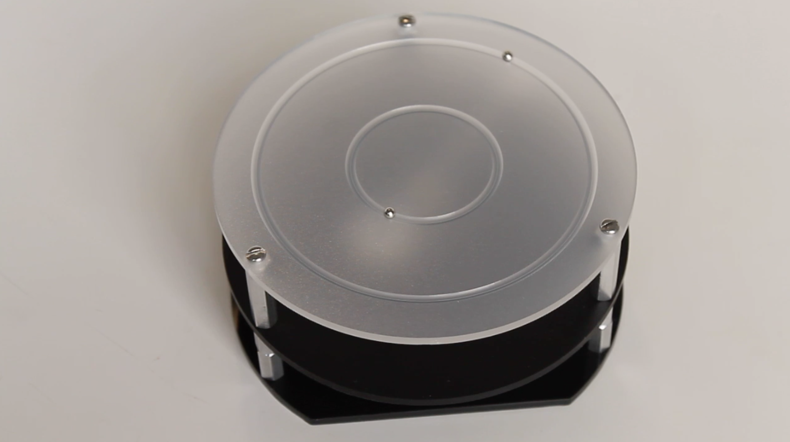
Clocks provide a unique form factor that is ripe for creative manipulation. Springboarding from the basic clock face with numbers and two hands, artists and makers over time have reinvisioned the many ways to display time. One particularly clever mode comes to us from designer and educator Ben Light, a mechanical engineer and prolific artist who is currently an adjuct faculty member at New York University's Interactive Telecommunications Program (ITP). Ben's Kinetic Magnet Clock design employs readymade disc and spherical magnets, along with black and frosted acrylic plates, and aluminum clock hands, all milled on the Bantam Tools Desktop PCB Milling Machine. He's documented his step-by-step instruction, so you can mill your own.

Here's a video of the Kinetic Magnet Clock in action:
And here's a closer look at the three layers that comprise the clock:

We spoke with Ben to learn about the clock's backstory and R&D process.
What inspired you to design the Kinetic Magnet Clock?
My colleagues Tom Igoe, Jeff Feddersen, and I have a little group we call Clock Club. We research and build projects based on time, watches, and clockwork. Then we get together, show off, and talk shop. It sounds a little nerdy (and it is) but it’s a great way to add just the right amount of pressure to finish up projects.

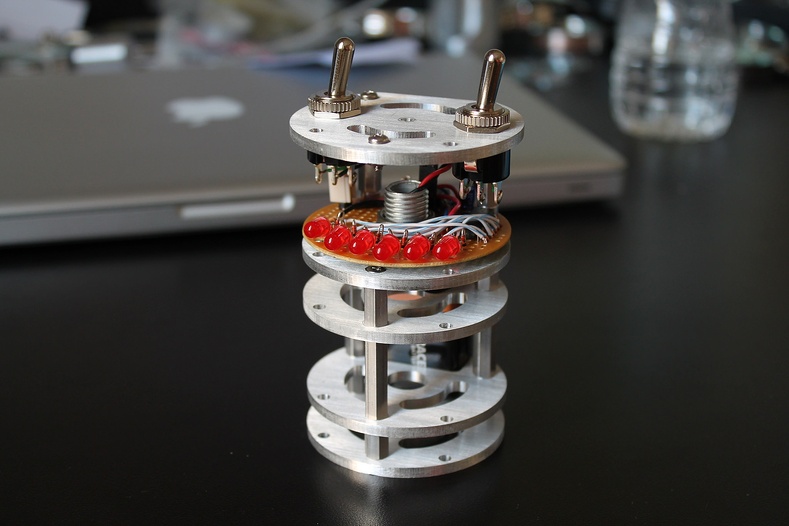
The Kinetic Magnet Clock came out of Clock Club. I was under the gun to finish something, and I had some clock mechanisms and magnets from previous projects sitting on my desk already. The first prototype [pictured below] was slapped together pretty quickly, but I was interested in where it was going.
Tell us about your R&D process.
The first iteration was just a proof of concept — a clock mechanism, some magnets, double sided tape, a washer, and some clear acrylic.
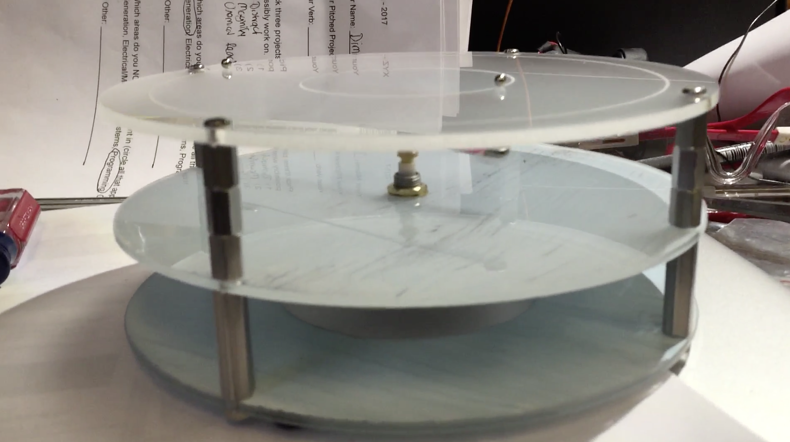
I wanted to refine the idea a bit, so I laser-cut some acrylic disks and stacked them using some standoffs. I etched two tracks in the acrylic for the spherical magnets to ride in. The design [pictured below] was getting there: the spherical magnets would usually slip off the tracks, and I still hadn’t figured out a solution for the magnetic clock hand, but it was getting there.
I figured a curved track in the acrylic would allow for smoother more reliable magnet travel, so it was on to the mill.
What was the most challenging part of the design/build?
No question, making the magnetic clock hand was the most challenging part. It’s a thin aluminum piece that could bend easily. Epoxying the magnets to the aluminum was tricky. Adding the small brass post to the center of the hand took a few attempts. So I made three clock hands at once, even though I only needed one. This way if one broke or did’t work out, I still had extras.

Did you learn anything new from the build?
During this project, I realized that I’ve never milled acrylic on the Bantam Tools machine before this. I usually dread machining acrylic because it can melt and it cracks very easily. I usually go with Delrin if I’m using plastic in a project. And I had a little trouble with the acrylic; a bit melted to the tip of a mill bit. But after I switched to a new sharp bit, the acrylic cut like a dream. I was surprised how fast the mill cuts through acrylic. At first I thought the settings were a bit aggressive, but it did a great job.

How long have you been using the Bantam Tools Desktop PCB Milling Machine?
Since early 2015. We got our hands on a V1 at ITP a couple of years ago, and I’ve been hooked ever since. We’ve upgraded to the V2 and then to the Pro. Can’t wait to see what’s next.
What’s your favorite thing about it?
The software. I love working with 2D SVG files to make 2.5D parts. I layer a bunch of files on top of each other and basically create the part in the software. I find it very intuitive.
What other types of projects have you used the Bantam Tools mill for?
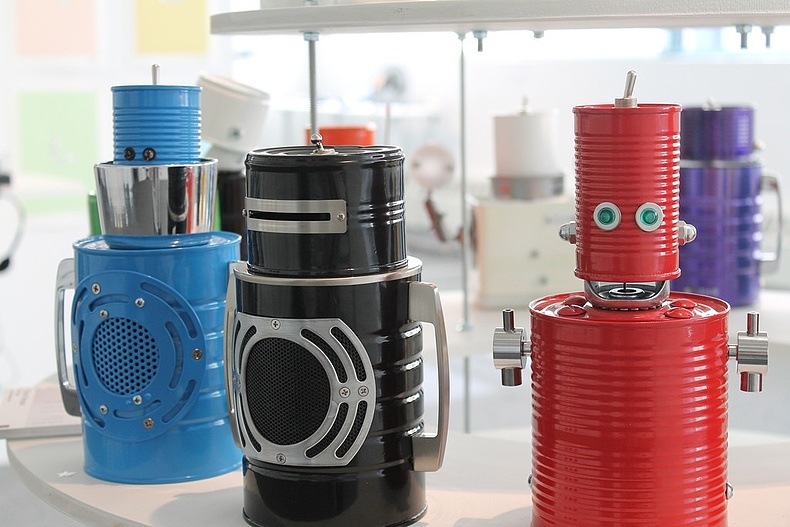
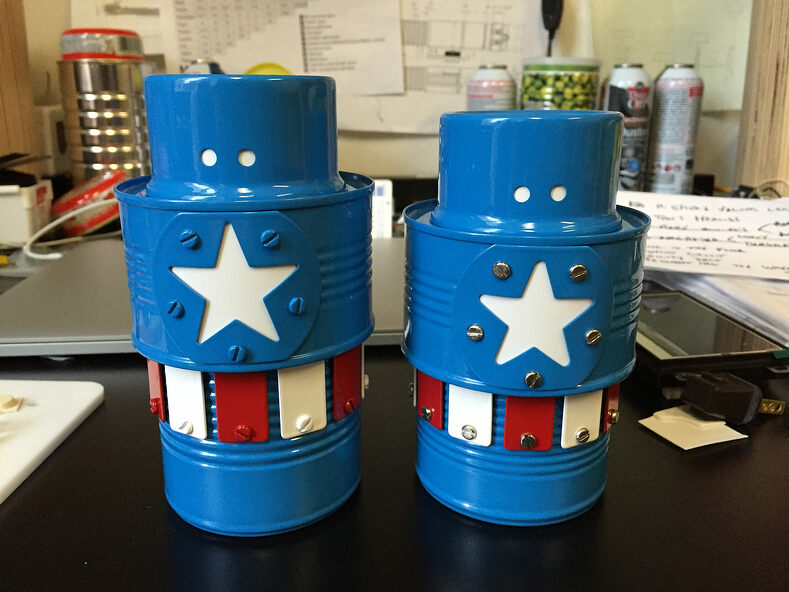
I’ve been building tin can robot toys, I call them Robot Recipes, and a bunch of them have used milled aluminum parts. I’ve made an Iron Man toy has a milled aluminum face and chest plate, as well as ones with Captain America chest plates.

I worked with Gabe Barcia-Colombo on his Hereafter Locket. The housing was milled out of aluminum then polished and anodized.

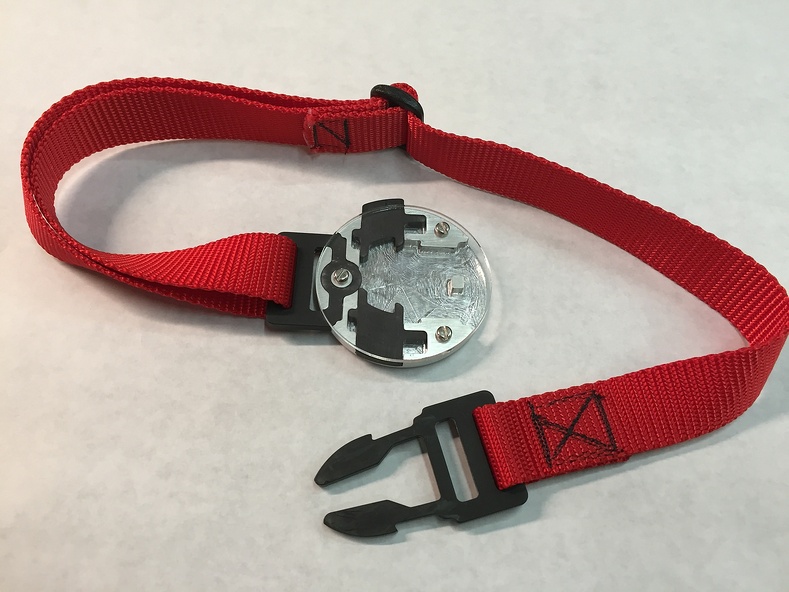
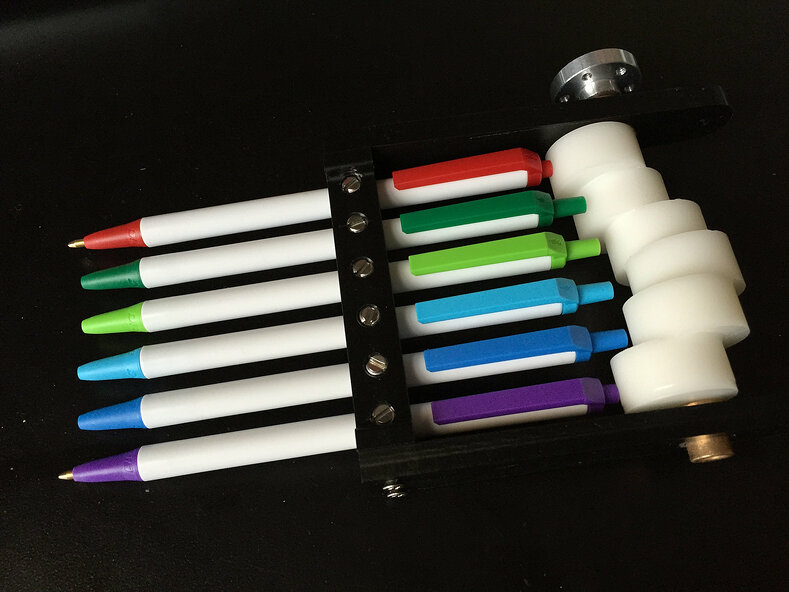
I mill a lot of parts and mechanisms too, including utility belt buckles, brass springs, and a pen clicking machine.

Do you have other projects in the works? What’s next?
Lately, I’ve been creating toy cars on the mill; I call them Bantmobiles. I’ve been experimenting with materials and finishes, and I’m particularly proud of the ’57 Corvette. [Look for Ben's upcoming '57 Corvette Bantmobile project here.] I’m always tinkering on something, and it can usually be found on my Instagram.
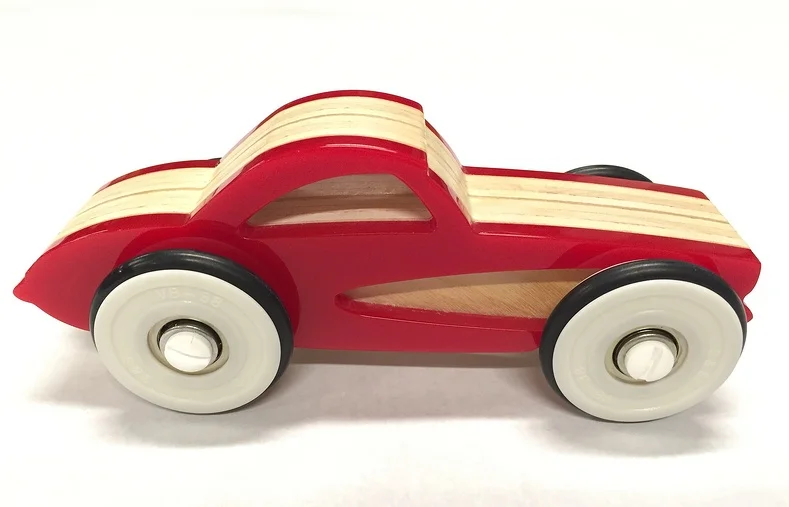
Ladies and gentleman, we give you The Bantmobile!
Any pointers or tips for folks going through the Kinetic Magnet Clock build?
Times everything by pi. The length of the job, the cost, the amount of material needed. Everything will be more than you initially think. And if you know this going in, you won’t get frustrated when it turns out to be true.
Thanks, Ben!

If you have any questions, we're here to help at support@bantamtools.com. And if you do make your own Kinetic Magnet Clock, we'd love to see it! Send it our way or tag your social posts with #bantamtools to get on our radar.