
Bantam Tools Software Updates: What’s New in the 2.3.2 Release
Our July (2.3.2) release of the Bantam Tools Milling Machine Software is all about fixturing! Designing our accessories to be integrated with our machine control software is just one more way we’re empowering you to set up your job efficiently and accurately.
We’ve rolled out:
Real-time visualization for our new Bantam Tools Desktop CNC Fixturing Pallet
Probing routine to install our Bantam Tools Desktop CNC Low-Profile Vise
Probing routine to install our Bantam Tools Low-Profile Vise End Stop
Back Alignment probing routine for the standard L-bracket that comes with every Bantam Tools Desktop CNC Milling Machine
All of these routines are included in the base version of our Bantam Tools software that comes standard with your machine, so you’ll have everything you need to run the Desktop CNC Milling Machine and your new accessories. Let’s take a closer look!
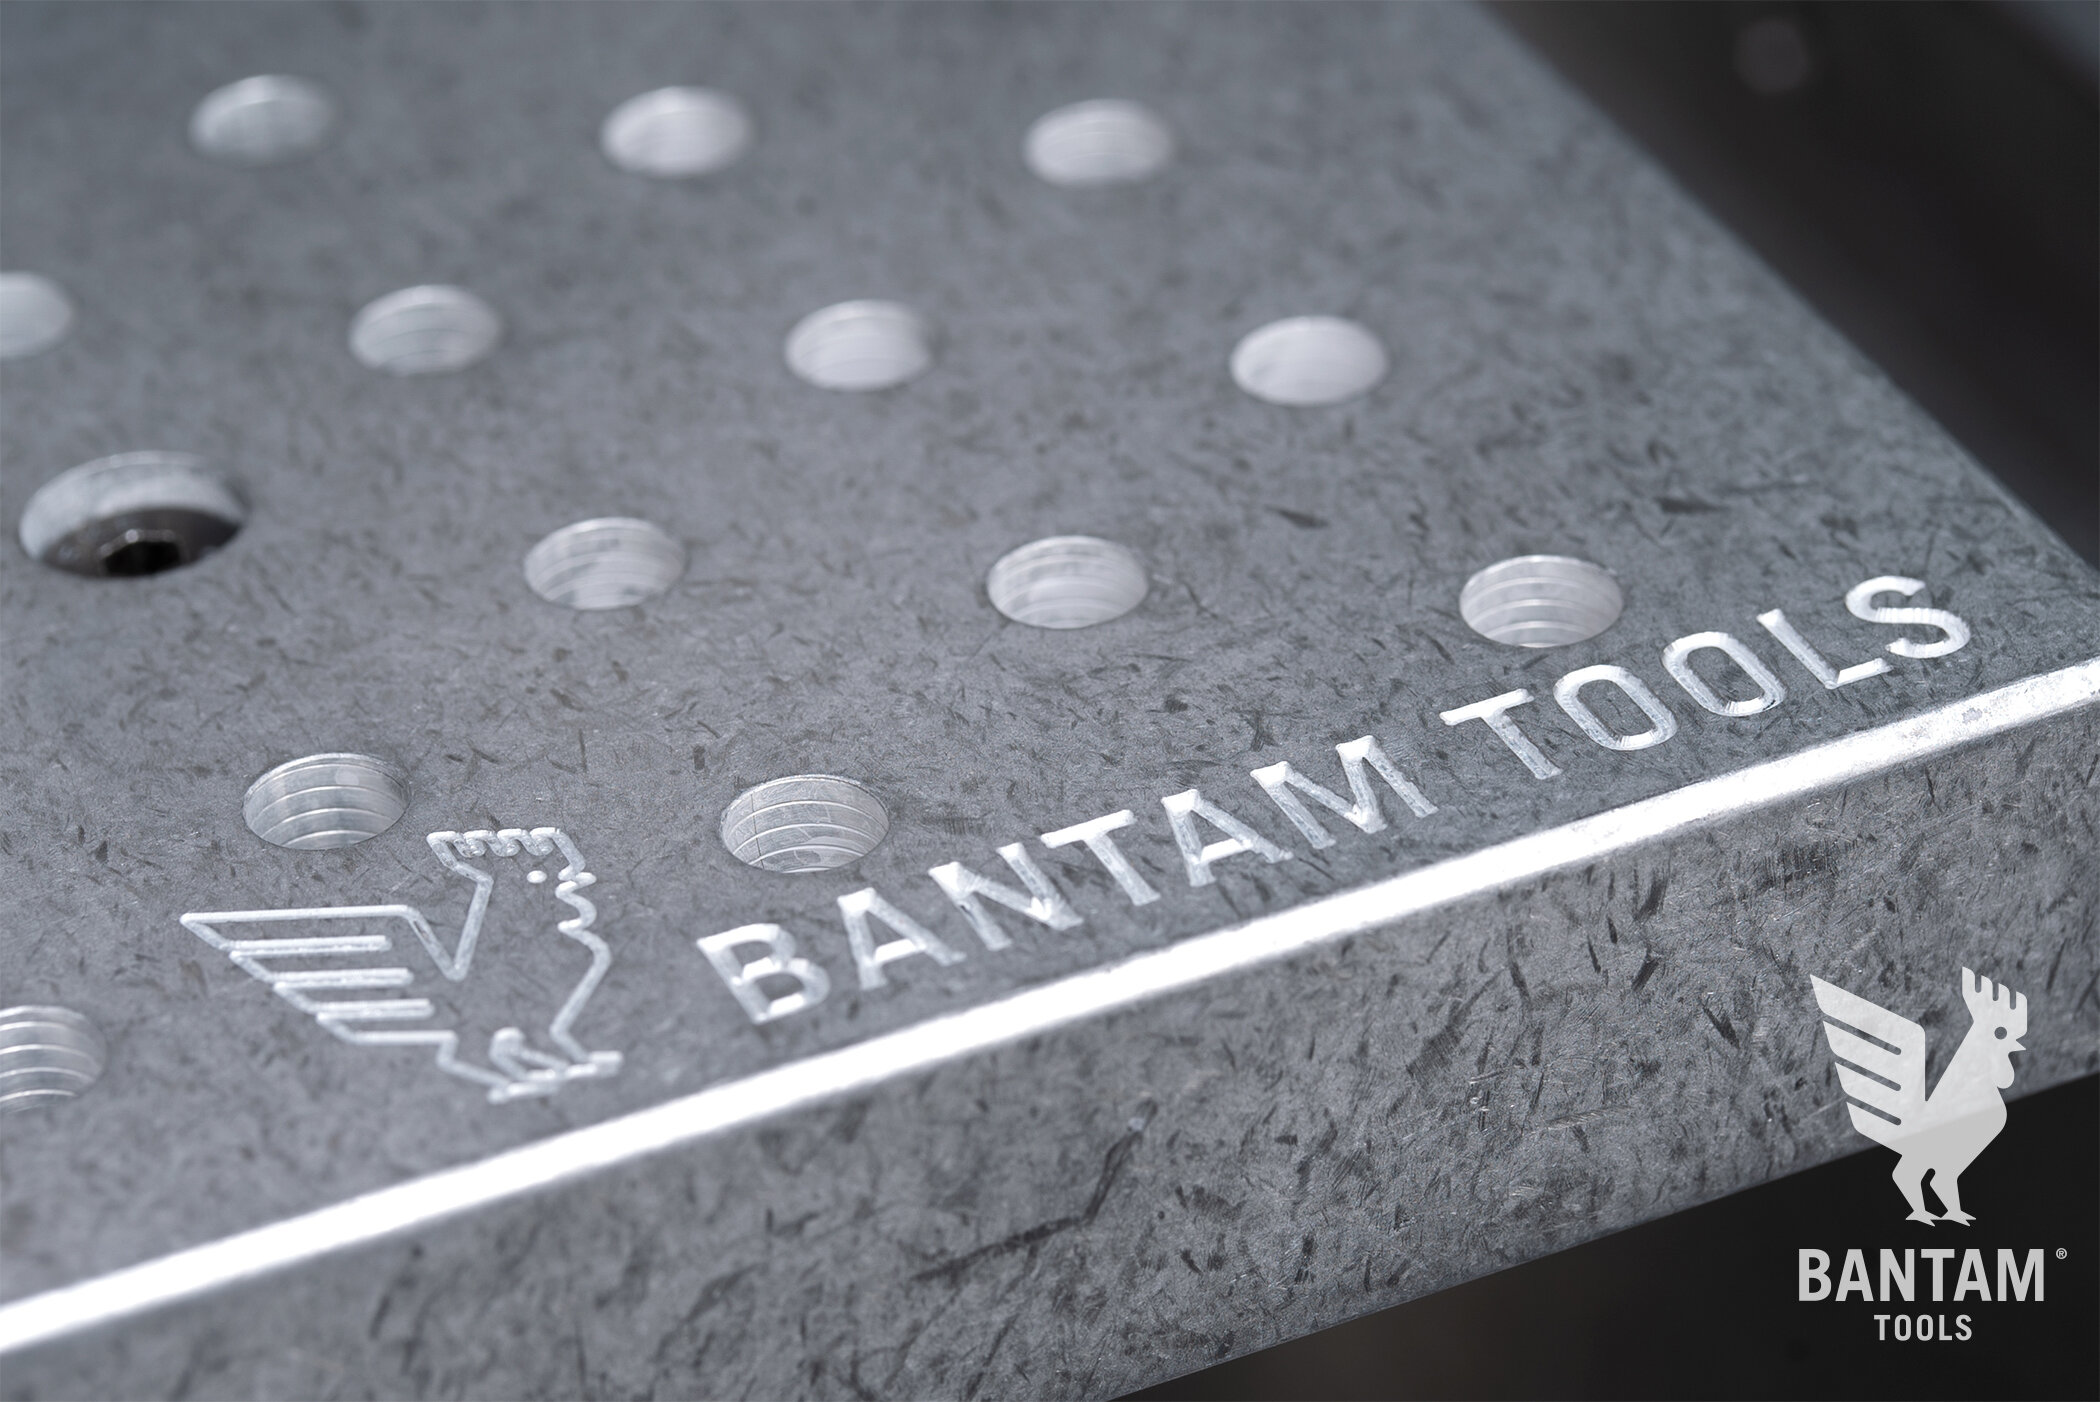
Bantam Tools Desktop CNC Fixturing Pallet
Like our T-slot bed and removable spoilboard, our new Bantam Tools Desktop CNC Fixturing Pallet is 0.75” thick and won’t impact the Desktop CNC Milling Machine’s 3.3” Z-height. Additionally, you can now tell the Bantam Tools software when the fixturing pallet is installed so that you get an updated real-time preview that accurately reflects your material setup. To update the real-time preview, go to the Initial Setup tab, then to the Brackets and Accessories dropdown menu, and finally to Bed to select the “Fixturing Pallet.”


Note: For additional information about installing the Bantam Tools Desktop CNC Fixturing Pallet, see our installation guide.
Bantam Tools Desktop CNC Low-Profile Vise Probing Routine
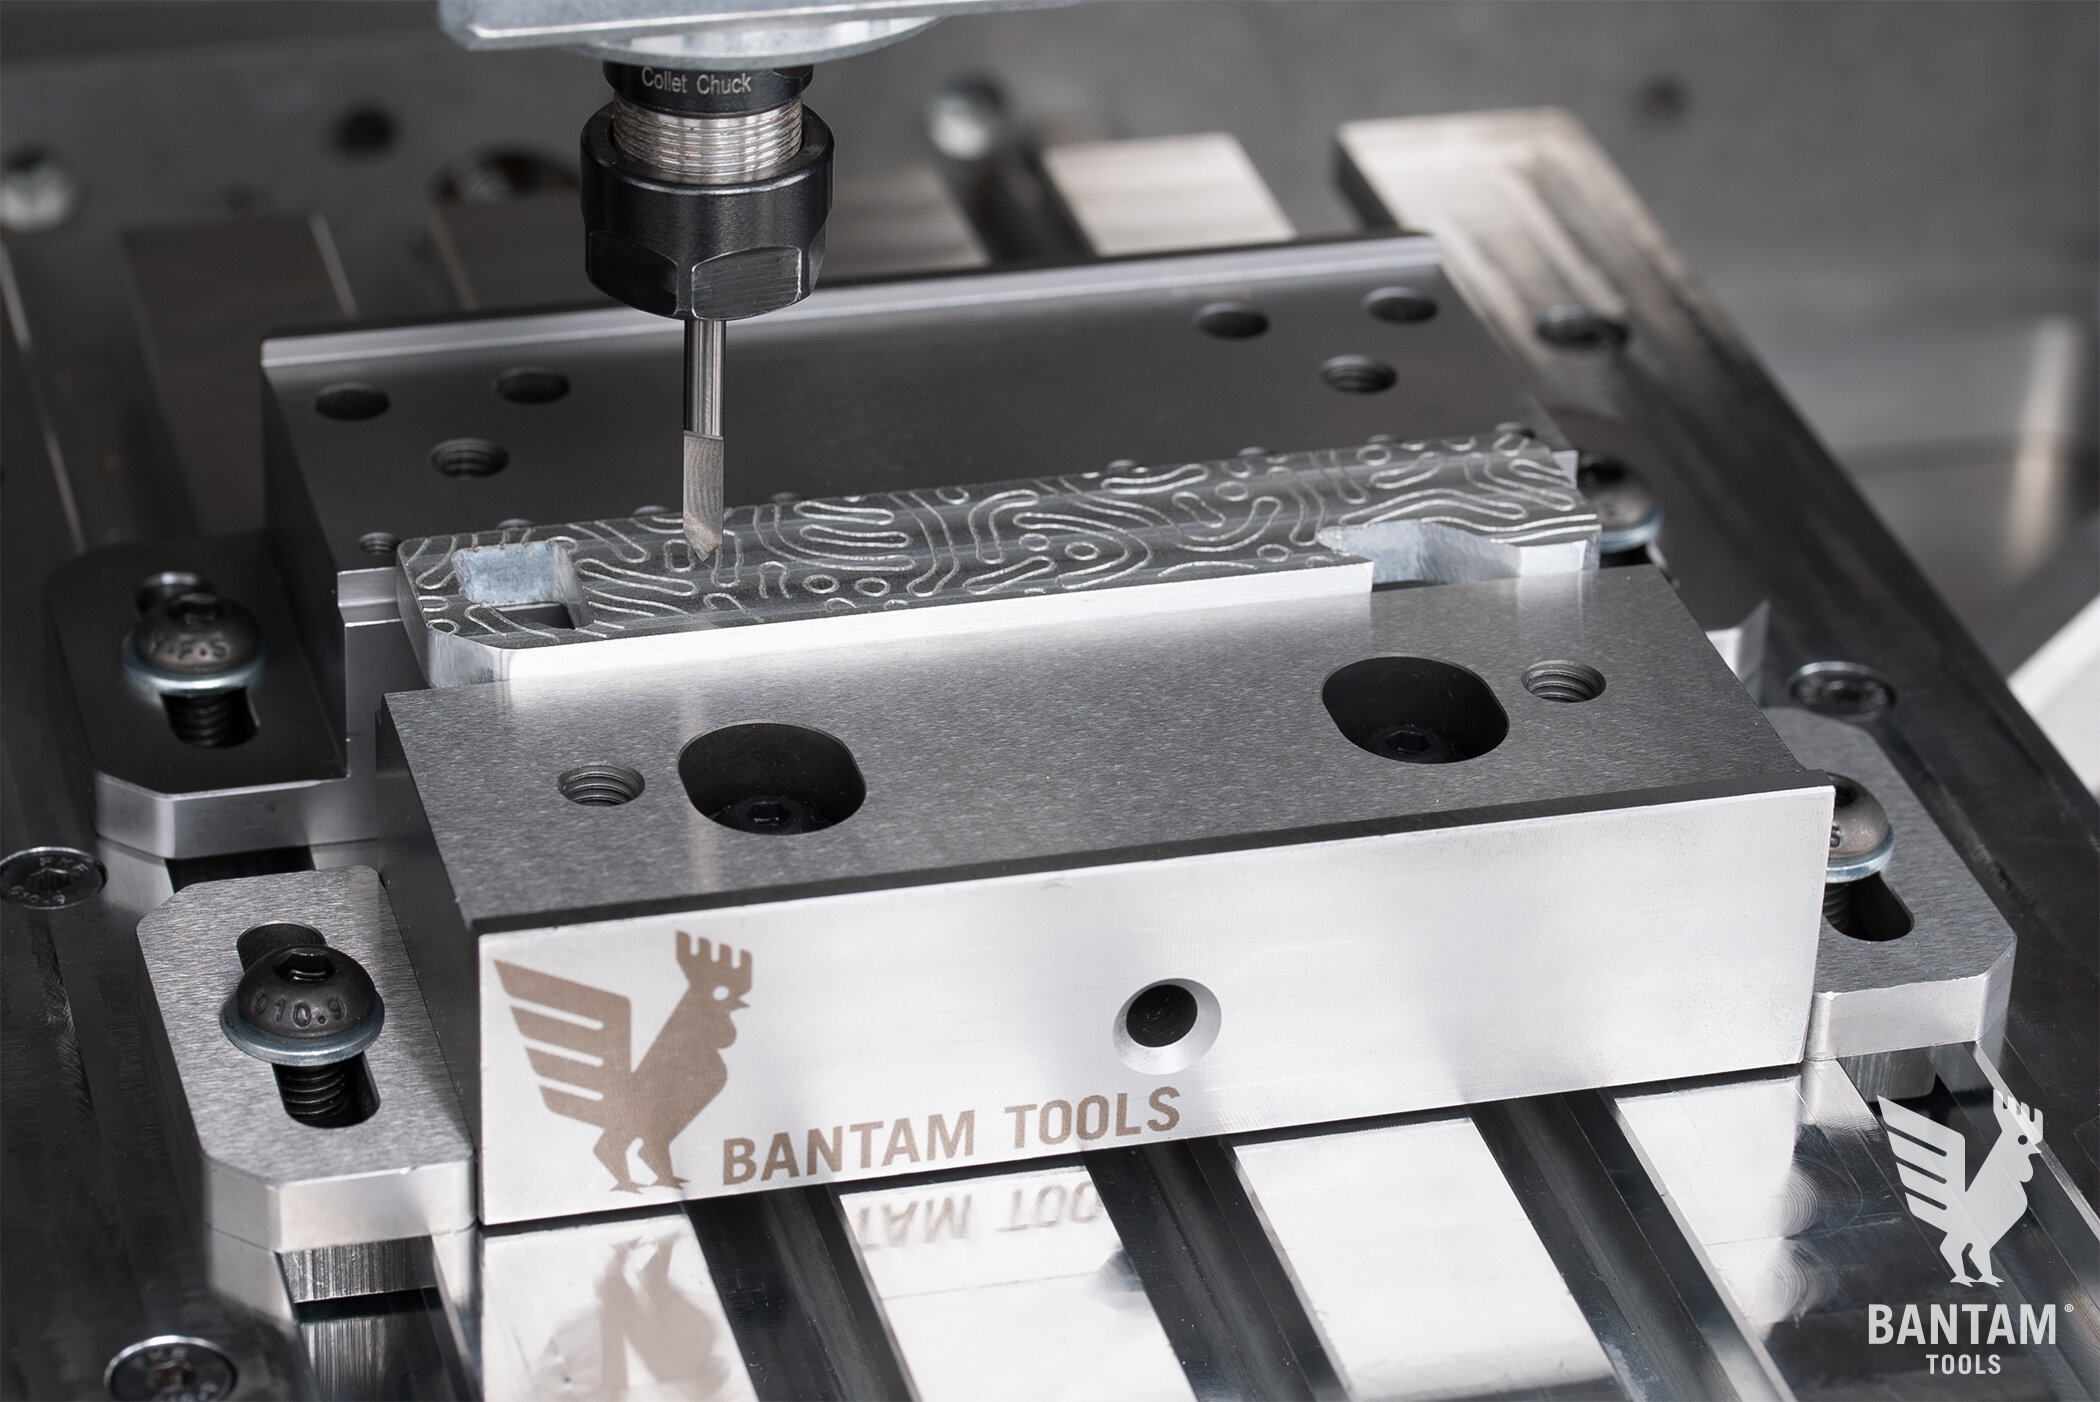
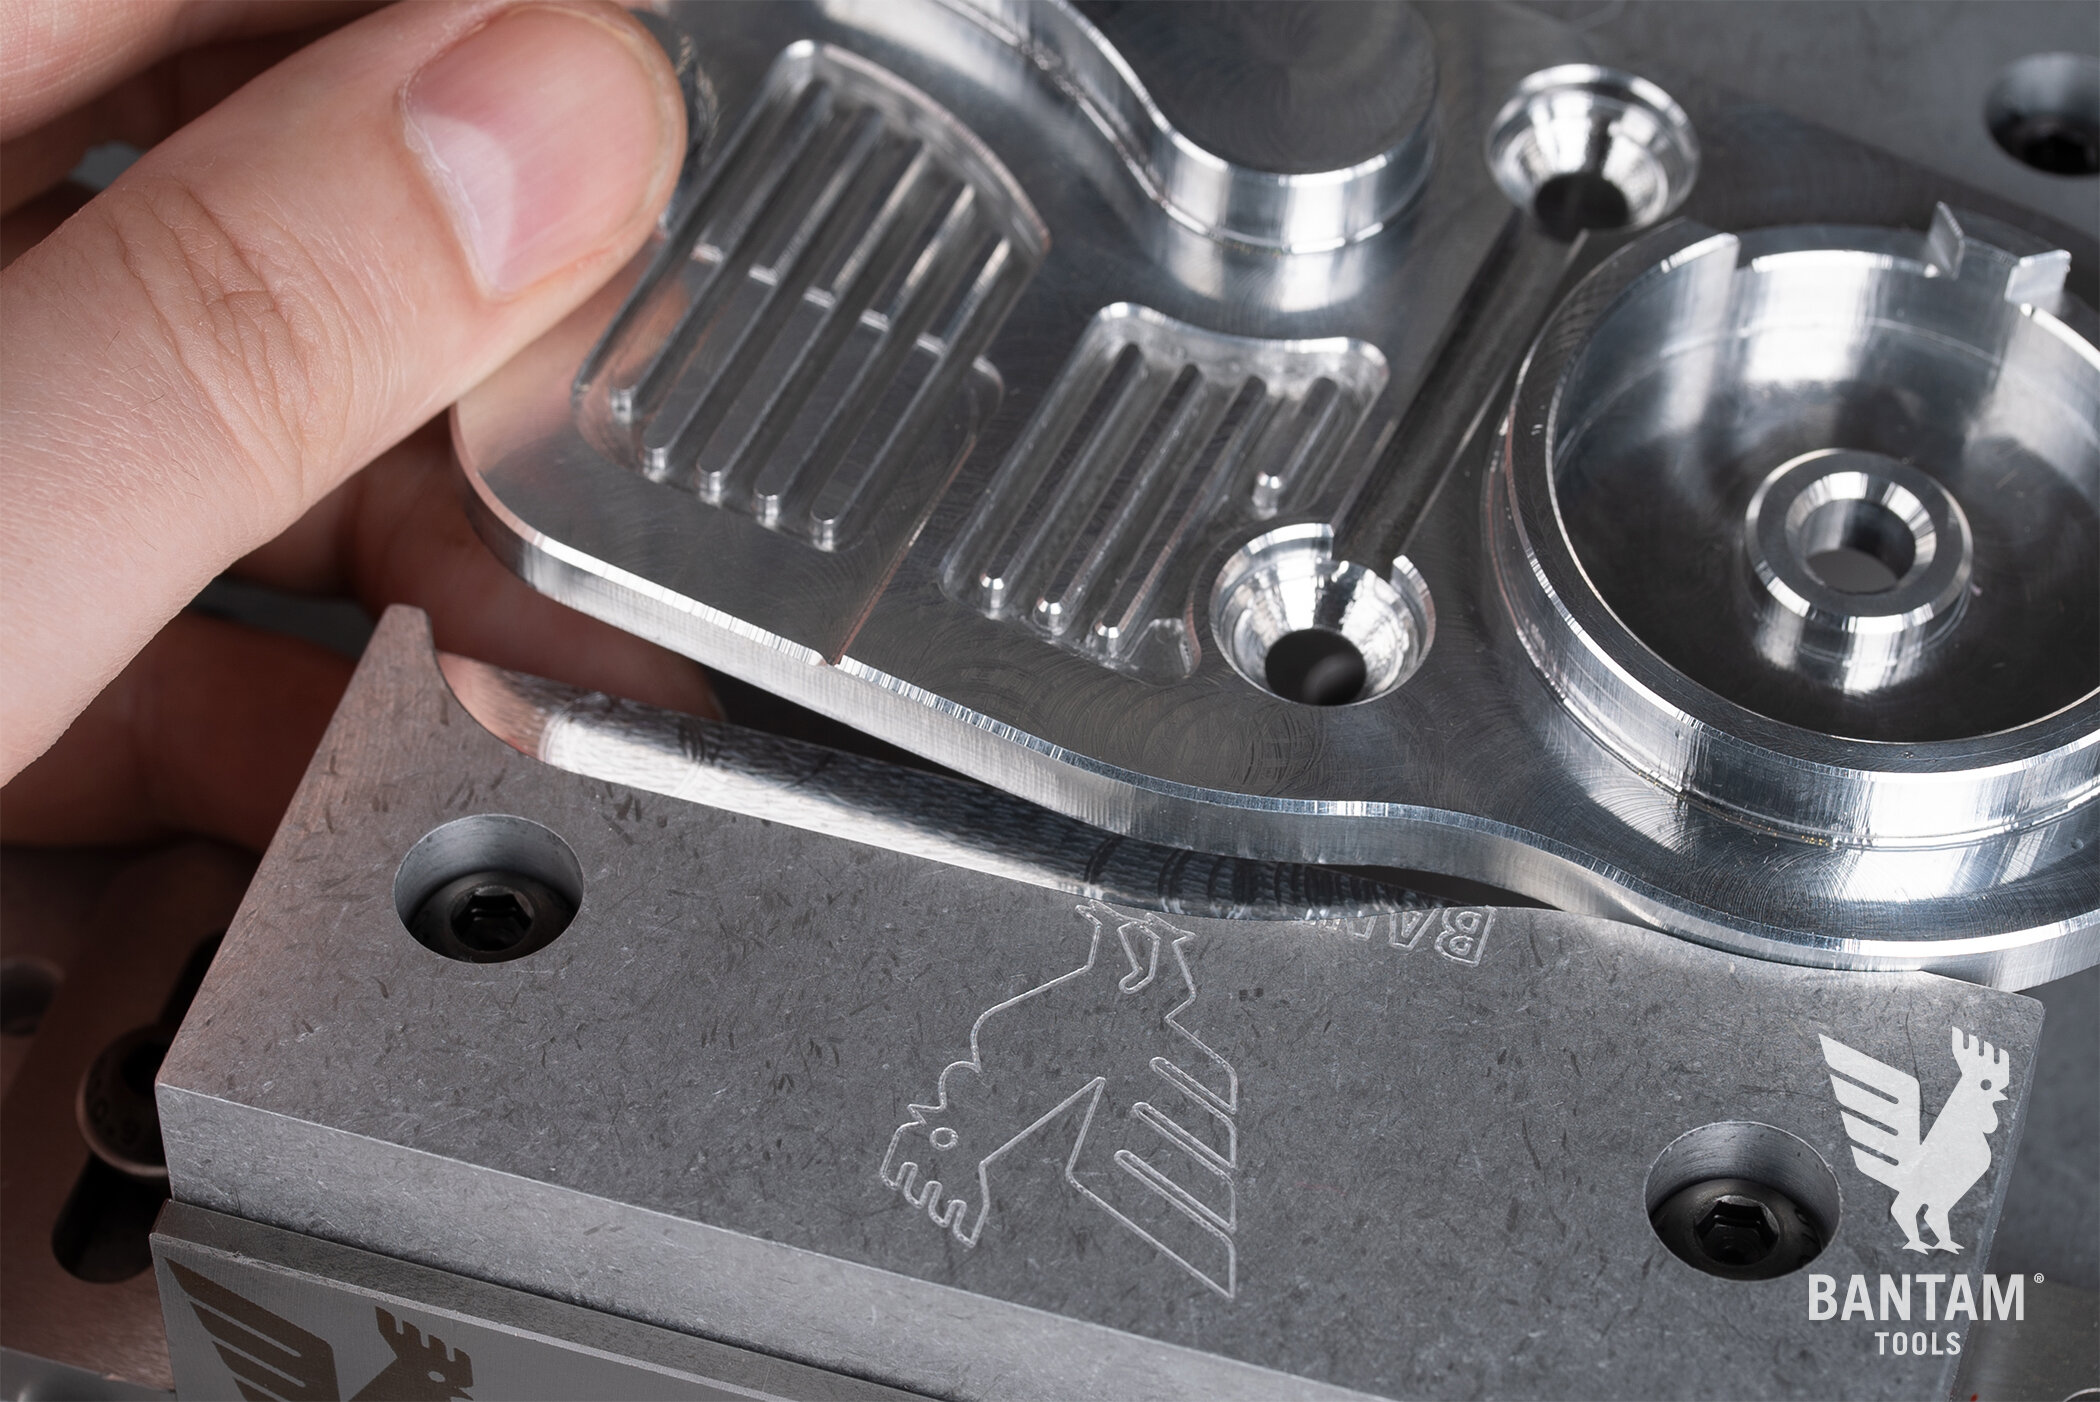
Our Bantam Tools Desktop CNC Low-Profile Vise is a rigid fixturing solution that helps you optimize your machining time and prototype more aluminum parts. It’s compatible with both the T-slot bed that comes with your Desktop CNC Milling Machine and our Bantam Tools Desktop CNC Fixturing Pallet.
Depending on your job, you can install the Bantam Tools Desktop CNC Low-Profile Vise in either an X- or Y-axis configuration on either of the pallets. Plus, you can use the inner or outer steps to clamp thinner pieces of stock.

We’ve also made sure that this pro-level vise is fully integrated with our Bantam Tools software. Once you’ve installed the Bantam Tools Desktop CNC Low-Profile Vise onto the T-slot bed or Bantam Tools Desktop CNC Fixturing Pallet, go to the Initial Setup tab in the Bantam Tools software and complete the following steps:
Go to the Brackets and Accessories dropdown menu and select Locate under the “Desktop CNC Low-Profile Vise.”
In the pop-up window that appears, select either X- or Y-Axis Configuration, and click the Next button.
In the window that appears, use the Jog menu to move the spindle to the front left corner of the vise, so that it’s just below the top edge of its bottom plate.
Click Start, and watch as the Bantam Tools software locates and probes the alignment of your Bantam Tools Desktop CNC Low-Profile Vise.
Bantam Tools Low-Profile End Stop Probing Routine

The Bantam Tools Low-Profile Vise End Stop acts as an optional backstop for your material. If you’re looking to rapidly prototype parts on the Desktop CNC Milling Machine, this accessory is a must-have because it allows you to machine multiple jobs while only setting up your job once in the Bantam Tools software.
When you’ve successfully installed the Bantam Tools Desktop CNC Low-Profile Vise, go to the Initial Setup tab in the Bantam Tools software and complete the following steps:
Go to the Jog tab and install and locate your 1/4” or 1/8” diameter probe.
Go to the Initial tab, and under “Desktop CNC Low-Profile Vise” in the Brackets and Accessories dropdown menu, click the Set End Stop button.
In the pop-up window, specify whether you’ve installed the end stop on the left or right side of the Bantam Tools Desktop CNC Low-Profile Vise’s fixed clamp.
Click Next and follow the prompts to jog the probe.
Note: See our guide on Installing & Fixturing with the Bantam Tools Desktop CNC Low-Profile Vise for more details on using this accessory.
Back Alignment Probing for the L-bracket

Last, but certainly not least, we’ve added Back Alignment Probing to our L-bracket Location probing routine. Until now, if you wanted to use the L-bracket probing routine, you had to install the bracket in the front left corner of the T-slot bed. Having this probing routine option at your disposal offers you more versatility for setting up your job.
To locate the L-bracket using the Back Alignment probing routine, complete the following steps:
In the Initial Setup tab, go to the Brackets and Accessories dropdown menu.
Under L-bracket, select Locate.
The pop-up window will present you with two options: Front or Back.
Select Back, click Next, and follow the prompts in the software wizard to complete the location process.
Using the Back Alignment Probing changes the work coordinate system (WCS) of your material offset. Traditionally, your material would be offset from the front right corner of the machining bed, but now it’ll be offset from the back right corner.

Traditionally, this is how the Bantam Tools software will interpret your material offset.
Note: This routine only changes the material offset. The plan will still be offset from the front left corner of your stock.
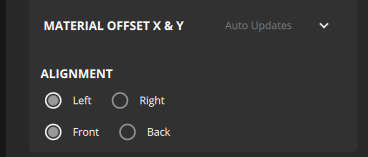
Additionally, you can manually offset your material from the back right corner of the bed. This is a great option if you’re a Bantam Tools Desktop PCB Milling Machine user.
To manually offset your material, head to the Material Setup menu. In the Material Placement dropdown menu, go to Alignment, and select Left, Right, Front, or Back alignment for your material offset.
What features would you like to see in the Bantam Tools Milling Machine Software? Send us feedback at resources@bantamtools.com. If you have technical questions, please reach out to us at support@bantamtools.com.