Build Your Own Bantam Tools 8-Bit Capacitive Synth
With the professional precision and reliability the Bantam Tools Desktop PCB Milling Machine offers, it can singlehandedly turn your classroom into an electrical engineering lab. We're confident that once you see what our easy, fast, and affordable Bantam Tools Desktop PCB Milling Machine can do, you'll want one in your classroom.
There's something infectious about 80s synth music. You almost can't help but to get visions of classic Atari games. Bantam Tools content developer Emily Coker was intrigued by a synth project we put out about four years ago and wanted to give it a healthy refresh. The result is our new 8-Bit Capacitive Synth project (click link to see full project), a super fun build for anyone with a Bantam Tools Desktop PCB Milling Machine, from seasoned pros to students.

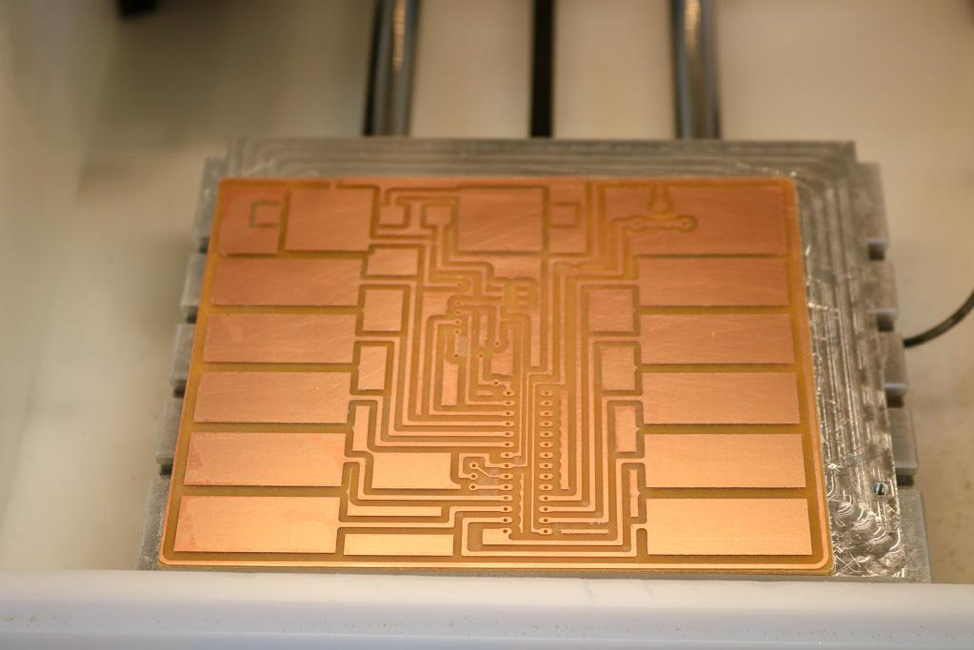
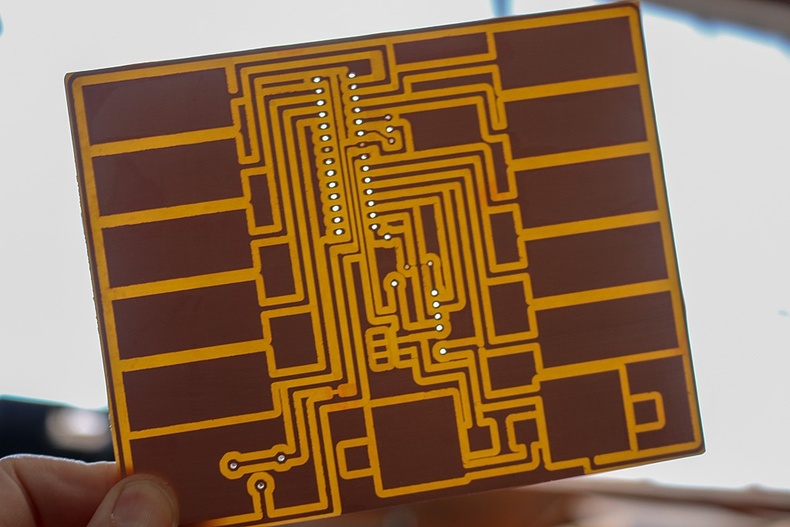
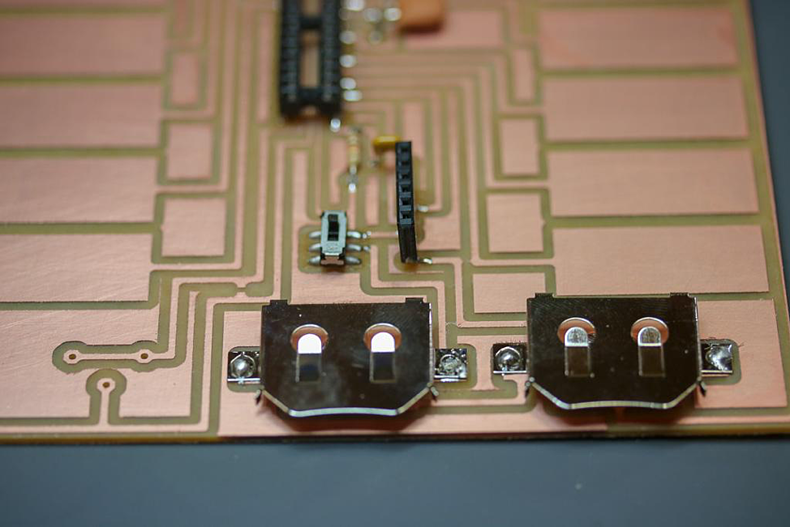
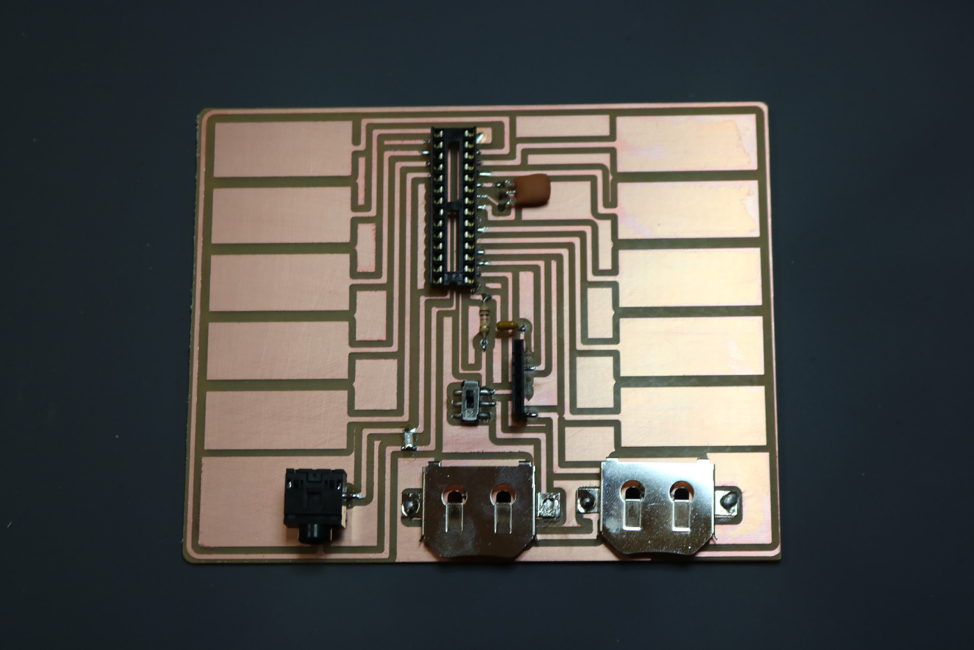
The tutorial starts by walking you through using an EAGLE .brd file to mill out the synth PCB. Then you'll solder on your components (both surface-mount and through-hole) and program the PCB with an Arduino. This is a particularly great project for electrical engineering classrooms, especially with the Bantam Tools Desktop Milling Machine Software, which is highly intuitive and easy-to-use.
Curious what went into redoing an outdated project, we asked Emily a few questions:
What was your R+D process?
Lots of troubleshooting on the first iteration and assessing what needed to be done to modernize it. I built the project from the old instructions just to look over how it works and then it was all iterate, iterate, iterate.
What was the most challenging part of the build?
Troubleshooting the project from the archives and figuring out the small things that actually negatively affected the overall function.
What did you learn?
Lots of things! I'm perpetually impressed by how precise and reliable the Bantam Tools Desktop PCB Milling Machine is. I also learned how to redesign the EAGLE files to make the PCB more efficient, for just for milling time but overall board layout, as well as making the Arduino sketch function better with some minor tweaks. Make sure to apply solder to the battery pads for a better connection to power to avoid shorting the board.

Any tips and tricks you can share?
Using solder paste or flux is super handy when soldering surface-mount components.
What was the most rewarding part of the build?
Hearing the 8-bit tones playing sweetly through the speaker. I also enjoyed challenging my coworkers to play well-known songs on it for the video.